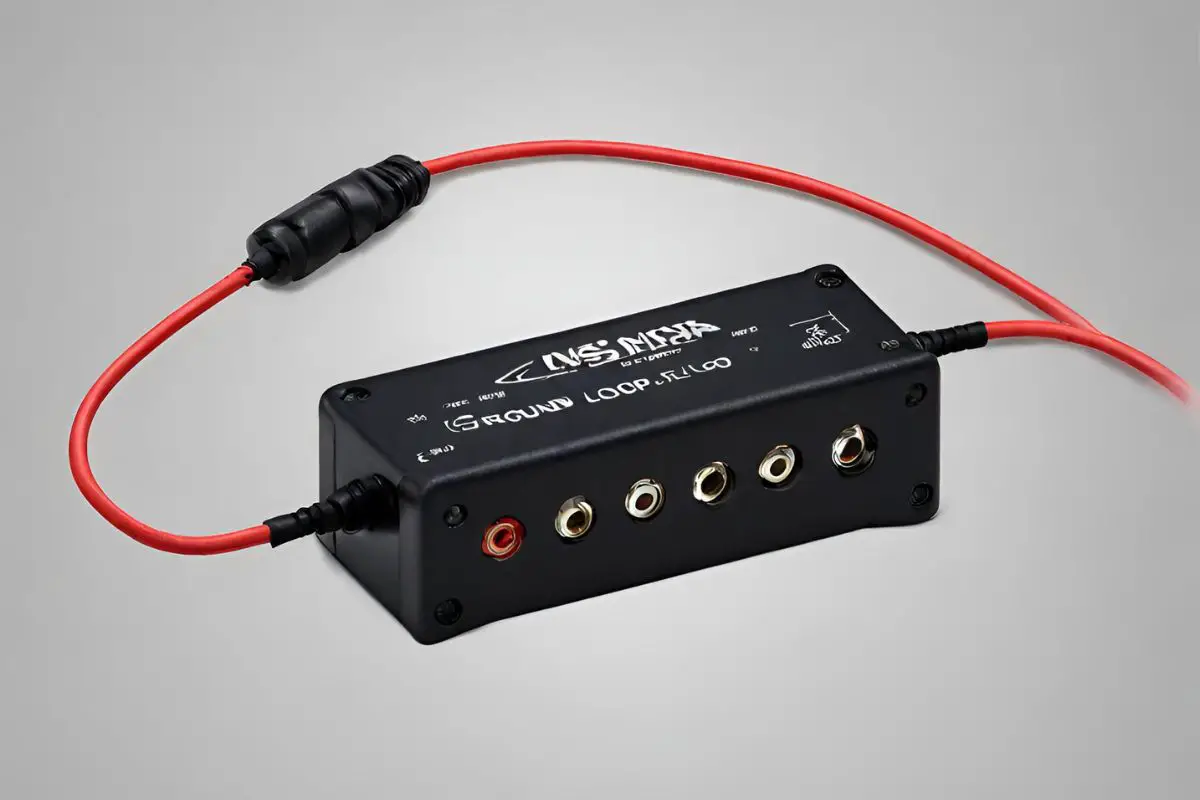
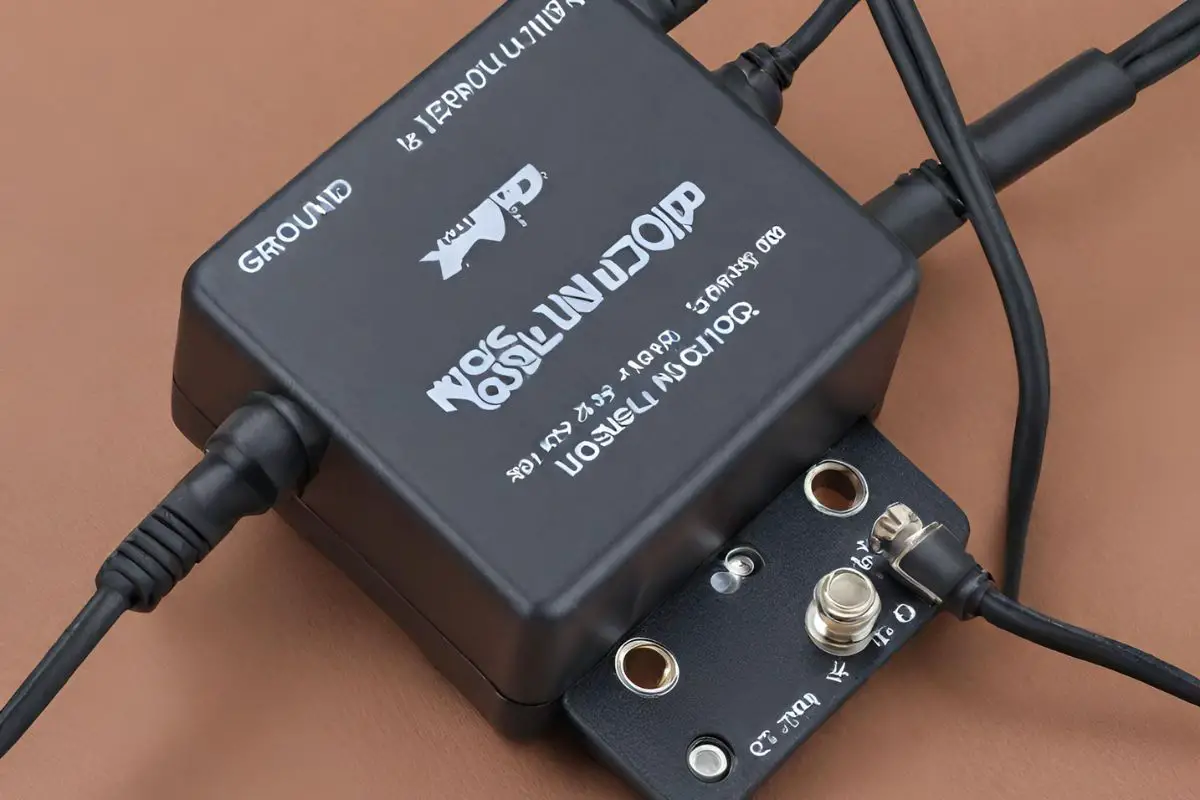
Nothing ruins listening enjoyment more than frustrating hums, buzzing, and whining cutting through your favorite tracks. This electromagnetic interference (EMI) plagues many factory and aftermarket car audio setups. Installing a ground loop noise isolator provides an easy cure eliminating this nuisance for good.
This guide will explore the root causes of EMI engine noise and explain isolator functionality in simple terms. Follow our step-by-step guide on how to install ground loop isolator car audio. Once installed, you will banish noise gremlins from your ride so you can finally hear your media clearly again. Regain peace and music fidelity once and for all through this often overlooked remedy.
Where Does Damaging Engine Noise Come From?
Before solving problems, first understand the source. In car audio, EMI noise stems from two principal offenders:
1. The Vehicle’s Electrical System
As the engine and various electrical accessories run, they collectively produce electromagnetic noise contamination across shared ground pathways. Fluctuating current flows seek lower impedance return paths to the battery. Audio components being connected to the same vehicle electrical ground pick up radiating interference.
2. Poor Isolation and Insufficient Grounding
Allowing noise an unobstructed avenue into sensitive audio gear causes issues. Weak or improperly terminated ground connections and lack of electrical isolation are often to blame. Engine noise travels along paths of least resistance into audio components which then emit the unwanted sounds clearly through your speakers.
So in summary, normal electrical noise pairing with inadequate shielding or grounding manifests as an audible nuisance. Inserting a ground loop isolator blocks this noise transmission route for quiet operation.
How Do Ground Loop Isolators Work?
These simple devices are inserted directly into the signal path, often on amplifier outputs. They function in two primary ways:
- Electrical Isolation – Isolators feature audio transformers with isolated windings that block the transmission of noise from one circuit to another eliminating electrical continuity. Clean audio passes from input to output sides without crossing ground paths.
- Ground Loop Elimination – By breaking shared ground paths often responsible for noise contamination, these devices stop unwanted hum and buzzing by giving noise no route between components. Grounds only link on the input side.
Quality isolators filter out interference rejecting frequencies up to 100kHz ensuring no audible noise makes it to your speakers. Installation only takes a few minutes for most models.
Step-By-Step Install Ground Loop Isolator Car Audio

Follow this simple procedure to insert an isolator to correct your engine noise problems:
- Locate amplifier output RCA connections – Determine sufficient slack to insert isolator modules if wired directly without extenders. If limited space, use short RCA extension pairs to connect the isolator module instead.
- Clean contact areas thoroughly using electrical cleaner spray and fresh razor blades to expose the shiny metal. This ensures optimal connectivity free of corrosion or debris.
- Insert isolator RCA ends matching output channels from the amplifier observing signal flow direction arrows etched on the chassis
Connect respective amp channels to each input side. Then use short RCA patch cables to route signals from isolator outputs back into the original destinations which typically feed crossover or component inputs. - Secure the isolator module nearby using zip ties or adhesive avoiding metal chassis contact and preventing accidental shorts. Verify no nearby components could vibrate against the isolator in motion.
- Test thoroughly at different engine speeds ensuring noise has been eliminated while clean audio still passes when the system is powered on. Make adjustments as needed before permanently mounting.
With these basics covered, let’s explore expert tricks for guaranteeing flawless function.
Advanced Ground Loop Noise Isolator Installation Tips from Pros
Implementing further best practices ensures your isolator cures EMI noise completely now and over the long haul:
- Isolate Early In Signal Chain – Insert isolator immediately following amplifier outputs before extensive downstream wiring splits occur. This confines noise entry points minimizing overall interference likelihood downstream.
- Use Multiple Isolators – If noise still gets through, insert additional isolator modules at the next signal split such as left/right crossover inputs and mid/high line outs to further strengthen isolation in a chained fashion.
- Check Isolator Signal Direction – Triple-check isolator signal direction arrows ensuring clean audio flows from source unit to output. Incorrect orientation severely impacts frequency response and dynamics which could falsely appear as defects.
- Secure Properly To Avoid Vibration – Rigorously stress test mounting orientations by playing bass-heavy tracks at high volumes ensuring no chatter before locking down the chassis. Chassis-to-chassis contact also avoids ground loop reintroduction if mounted properly.
- Measure Voltage On Both Sides – Using a digital multi-meter, compare DC voltage readings pin-to-ground on both input and output sides to validate intended isolation performance. Clean isolation yields infinite or no conductivity value.
Wouldn’t it be nice to just press play and enjoy the crisp musical entertainment you paid for without any frustrating humming or electrical buzzing pestering your listening session? Follow these guidelines for installing a ground loop isolator to permanently mute noise gremlins.
Conclusion
Getting distracted by aggravating electrical humming noises steals the pleasure from musical immersion. Regain your sanity by implementing quality ground loop isolators proven to eliminate unwanted interference by severing shared ground paths across the engine and audio gear. Then employ proper mounting and multi-point signal insertion techniques pioneered by professional car audio installers for decisively foolproof operation.
With irritating buzzing and whining 100% neutralized for good, redirect attention back to curating playlists fully appreciating subtle sonic intricacies no longer degraded by underlying contamination. Protect both sanity and speakers so crisply engineered recordings once again sound like intended.
Frequently Asked Questions on How to Install Ground Loop Isolator Car Audio
These additional FAQs aid any lingering concerns around properly integrating isolators:
Will I lose sound quality by installing isolators in my signal chain?
High-quality isolators will not impact frequency response or dynamics when properly oriented matching signal direction arrows and when the chassis is fully secured.
Can I eliminate engine noise through better grounding alone?
You must address grounding and isolation simultaneously. Even robust grounds still allow noise ingress without isolators breaking shared paths. The combo ensures noise has no avenues into gear.
Where should I mount isolators to prevent shorts?
Secure using adhesive or bolts to nearby plastic panels or factory wiring harnesses after stress testing positioning. Avoid chassis-to-chassis contact or exposure near major electrical lines.
How many isolators do I need for a complex system?
For simple setups, often just one correctly placed isolator eliminates noise. But for extensive wiring with many output splits, consider adding a second isolator module working from amp channels backward toward the head unit.
Will poor-quality RCA cables impact isolator performance?
Certainly. Inferior cables with insufficient shielding undermine their rejection capability. Use high-grade RCAs paired with isolators for uncompromised noise protection.
Never settle for inadequate noise protection strategies again. Lean on isolators for decisively muting those annoying electrical gremlins so you can return focus to the intricate musical details that move the soul.
Also read:
Best 5×7 Car Speakers Reviews- Top 7 Picks and Buying Guide
Best 8 Inch Subwoofer Reviews: Unleash Thunderous Bass!
Learn How to Upgrade Car Speakers without Amp and 4 Key Benefits

Kenny Owen is an acclaimed audio expert and longtime enthusiast with a deep passion for sound technology. With over 15 years of experience in the car and home audio industry, Kenny has established himself as a trusted authority on everything from speaker setups and amplifier configurations to the latest audio equipment and innovations.
Through his engaging writing style and meticulously researched articles, Kenny shares his vast knowledge on optimizing audio systems for superior sound quality. He provides in-depth tips and tricks for achieving the best listening experience, whether it’s tuning a car’s audio system for an immersive musical journey or creating a high-fidelity home theater setup. Additionally, Kenny’s comprehensive buying guides empower readers to make informed decisions when investing in audio components, ensuring they get the most bang for their buck.

