Ready to take your car’s audio system to the next level? Installing a double DIN car stereo is an awesome way to upgrade your in-car entertainment experience! Whether you’re an avid tech enthusiast or just getting started, this guide will walk you through each step on how to install double DIN stereo. It’s time to buckle up and transform that ride – get ready for some serious fun! So, fasten those seatbelts and let’s get ready for the ultimate driving experience.
Section 1: Understanding Double DIN Stereos
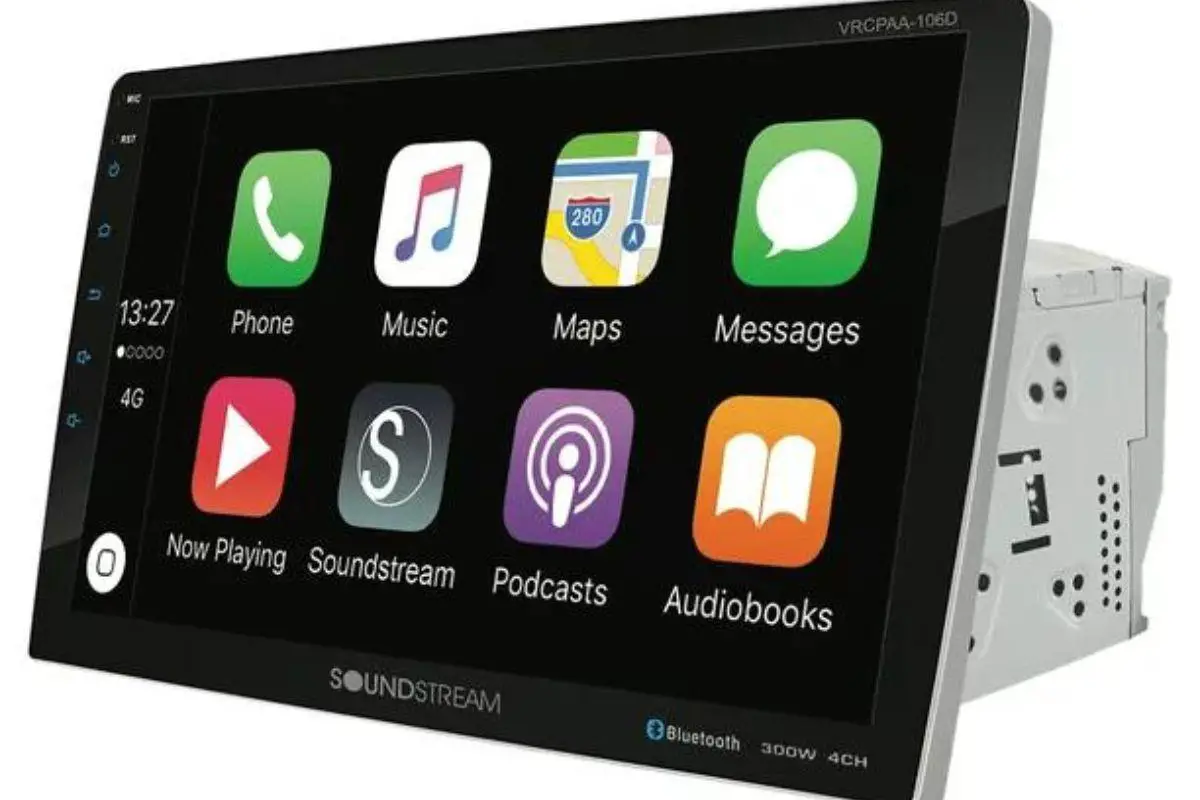
Ah, the double DIN stereo. As an experienced driver, as an experienced driver, I’m here to tell you – this type of car audio system is a must-have if you want premium sound and navigation. Boasting a larger display than the single DIN unit and extra features like connecting your phone or other devices, it’s no wonder why so many are jumping on board! Plus, it offers superb audio clarity with improved navigational features that make driving stress-free! In short: upgrading to a double DIN stereo will definitely take your road trips up several notches.
Also read: Best Double Din Head Unit for the Money – Top 5 Reviews
Section 2: Gathering the Tools and Equipment
To make sure your installation process goes off without a hitch, it’s essential to have the right tools and equipment. Here’s what you’ll need:
- Double DIN stereo unit
- Wiring harness adapter
- Dash kit
- Screwdrivers (flathead and Phillips)
- Wire cutters and strippers
- Electrical tape
- Panel removal tools
- Crimp connectors
- Heat shrink tubing (optional)
- Test light or multimeter
Section 3: How to Install Double DIN Stereo
Step 1: Preparing for Installation
Before you start installing your new double DIN car stereo, it’s crucial to prepare your car and plan the installation process. Follow these steps:
- Disconnect the negative terminal of your car battery to avoid any electrical mishaps.
- Study the car’s dashboard to identify any potential obstacles or areas that might need modification.
- Refer to the installation manual of your specific double DIN stereo unit to familiarize yourself with its wiring connections and installation requirements.
- Make sure to have the necessary adapters and dash kits that are compatible with your car make and model.
Step 2: Removing the Old Stereo
Now, let’s get started on how to remove the old stereo unit:
- Use panel removal tools to carefully pry off the trim pieces surrounding the stereo. Be gentle to avoid damaging the dashboard.
- Once the trim pieces are removed, unscrew any screws or bolts securing the old stereo to the dashboard.
- Gently pull out the stereo unit and disconnect all the wiring harnesses and antenna cable connected to it.
- Remove any additional brackets or mounting plates if necessary.
Step 3: Wiring the New Double DIN Stereo
Now that the old stereo is out, it’s time to wire the new double DIN stereo. Follow these steps:
- Connect the wiring harness adapter to the wiring harness of your car. Make sure to match the wire colours and connections properly.
- Connect the other end of the wiring harness adapter to the wiring harness of your new double DIN stereo.
- Start by soldering or using crimp connectors to make a strong bond between them.
- Then secure any exposed wiring with electrical tape or heat shrink tubing to prevent short circuits from occurring.
Step 4: Installing the New Double DIN Stereo
It’s time to get your new double DIN stereo installed! Simply do as follows:
- Secure the dash kit with the provided instructions – no cutting corners here!
- Carefully slide the stereo unit into the dashboard, ensuring a snug fit.
- Secure the stereo unit by screwing it into place using the screws or bolts provided.
- Reattach the trim pieces that were removed earlier, ensuring they fit properly.
Step 5: Testing and Finalizing the Installation
Congratulations! You’ve successfully installed your new double DIN stereo. But before you celebrate, it is necessary to test your newly installed radio.
5.1 Testing:
- Reconnect the negative terminal of your car battery.
- Turn on the ignition and test the functionality of your new double DIN stereo.
- Check if all the audio sources, such as FM/AM radio, CD player, auxiliary input, and Bluetooth connectivity, are working correctly.
- Test the display screen, navigation system, and any other features unique to your stereo unit.
- Ensure that the volume, bass, treble, and other audio settings can be adjusted as desired.
5.2 Fine-Tuning:
- Maximize the sound of your new double DIN stereo to its fullest potential by tweaking the EQ settings.
- Customize it with features like smartphone integration, steering wheel controls, or backup camera compatibility. Consult the user manual for assistance if you’re not sure how to set these up!
- Get creative and explore all available abilities. That way, you can make sure you’re making full use of what your double din radio has to offer.
Section 4: Summary on How to Install Double DIN Stereo
By following this comprehensive guide, you now have the knowledge and confidence to install a double DIN stereo in your car. Remember to gather the necessary tools, remove the old stereo, wire the new unit correctly, install it securely, and perform thorough testing.
Take your time and go through the double din radio installation process step-by-step. Consult the installation manual specific to your car stereo for assistance. Else, seek professional assistance if needed.
Related articles:
How to Install a Single Din Stereo in 7 Simple Steps
Single vs Double Din Car Stereo Demystified

Kenny Owen is an acclaimed audio expert and longtime enthusiast with a deep passion for sound technology. With over 15 years of experience in the car and home audio industry, Kenny has established himself as a trusted authority on everything from speaker setups and amplifier configurations to the latest audio equipment and innovations.
Through his engaging writing style and meticulously researched articles, Kenny shares his vast knowledge on optimizing audio systems for superior sound quality. He provides in-depth tips and tricks for achieving the best listening experience, whether it’s tuning a car’s audio system for an immersive musical journey or creating a high-fidelity home theater setup. Additionally, Kenny’s comprehensive buying guides empower readers to make informed decisions when investing in audio components, ensuring they get the most bang for their buck.
