Tired of the same old tunes playing on your boring, factory-installed stereo system? Time to upgrade! Installing an aftermarket car stereo is the perfect way to get those banging beats and awesome audio quality you’ve been missing. Plus, you can add features like Bluetooth connectivity, navigation, and more – making your drive even better than before.
But don’t worry if it sounds complicated; we’ll make sure this installation process is as easy as ABC. So buckle up and let’s hit the road – here’s our step-by-step guide on how to install aftermarket car stereo in no time at all!
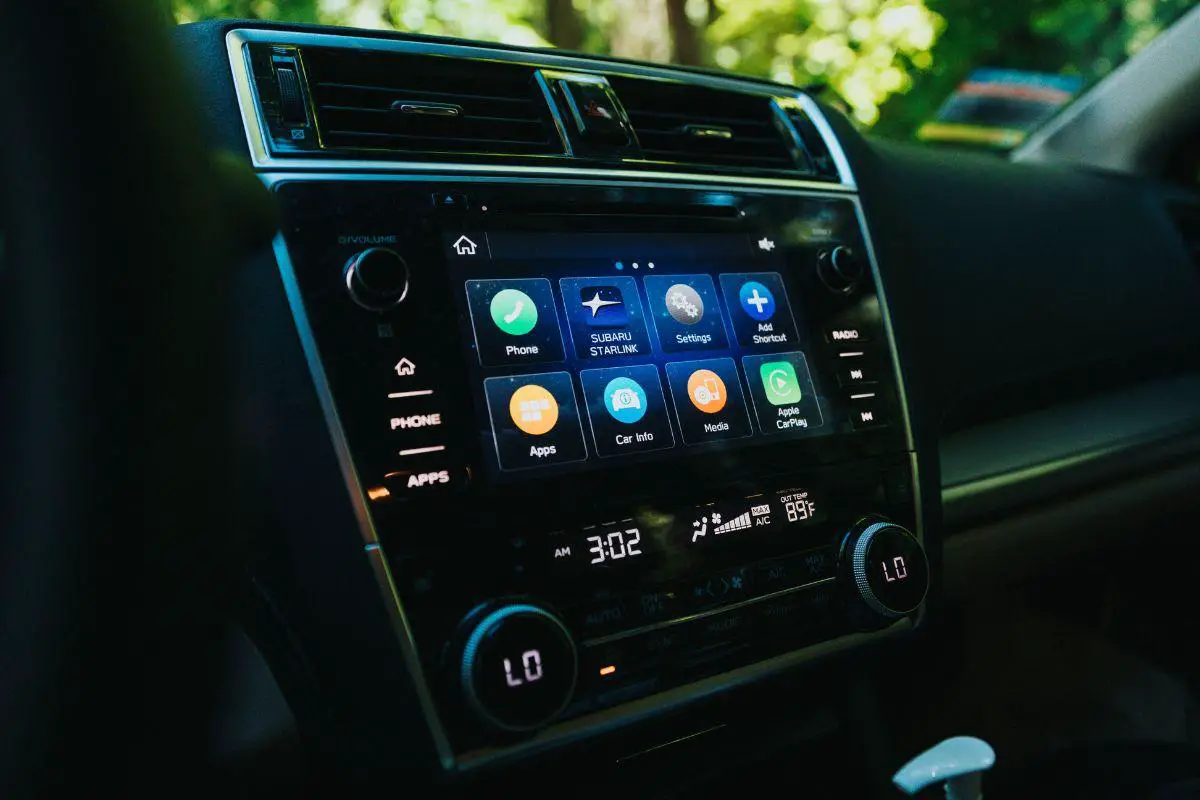
Choosing the Right Aftermarket Car Stereo: A Guide for Beginners
Selecting the ideal aftermarket car stereo can be a difficult challenge, especially for novices who aren’t familiar with all the technical terms and features these systems offer. With so many options on the market, it’s essential to research thoroughly and find an audio system that fits your needs as well as your budget. To help you make informed decisions we’ve got some tips below — dive in!
1. Figure out what matters most:
Before shopping around for something new, take some time to think about exactly which features are important to you in a car stereo – things like Bluetooth connectivity, touchscreen displays, or navigation systems. What’s more crucial though is figuring out how much money you’re willing to spend while still getting quality sound performance.
2. Check size compatibility:
Different cars have different sizes of stereos slots so checking yours first will save potential headaches down the line if it doesn’t fit properly later on! Measure up or consult with the owner’s manual before hitting ‘buy’.
3. Keep an eye out for features needed:
Make sure when looking at models that they contain all necessary features such as power output (the louder means better!) or if there are specific items like satellite radio capabilities then look into those too.
4. Research brand reliability:
Take some time researching various brands online; see their ratings from consumers who bought them beforehand and read reviews – this should provide insight into whether said product is reliable plus gives helpful hints about its ease of use too!
Tools Required for Installing an Aftermarket Car Stereo
Installing an aftermarket car stereo demands some basic tools and a bit of know-how. Having the right equipment is key to getting your new system up and running without any hiccups, so it’s important to make sure you have everything you need before beginning. Here are the must-haves for installing an aftermarket car stereo:
- A set of screwdrivers – Phillip’s head is the most commonly used screwdriver to remove old screws from an existing unit as well as install new ones with ease.
- Socket set– For taking out bolts that secure old stereos and putting in new ones
- Wire stripper/crimper tool– To take off the insulation from wires while making connections more reliable via crimping them together.
- Electrical tape– For insulating exposed parts of the wiring, this will prevent unnecessary short circuits due to touching wires.
- Crimp connectors– They enable connection between the car’s harnessing cables with those attached to your chosen device — these are easy enough to use even if you’re not a professional technician!
- Panel removal tool– Helpful when accessing both stereo units and their wiring systems hidden under dashboard panels or trim pieces.
- Test light or multimeter– necessary when checking all the connections, thereby ensuring proper grounding exists within and guaranteeing safety during operation!
Now that we’ve got our checklist down pat let’s get started & rock out like Tom Cruise.
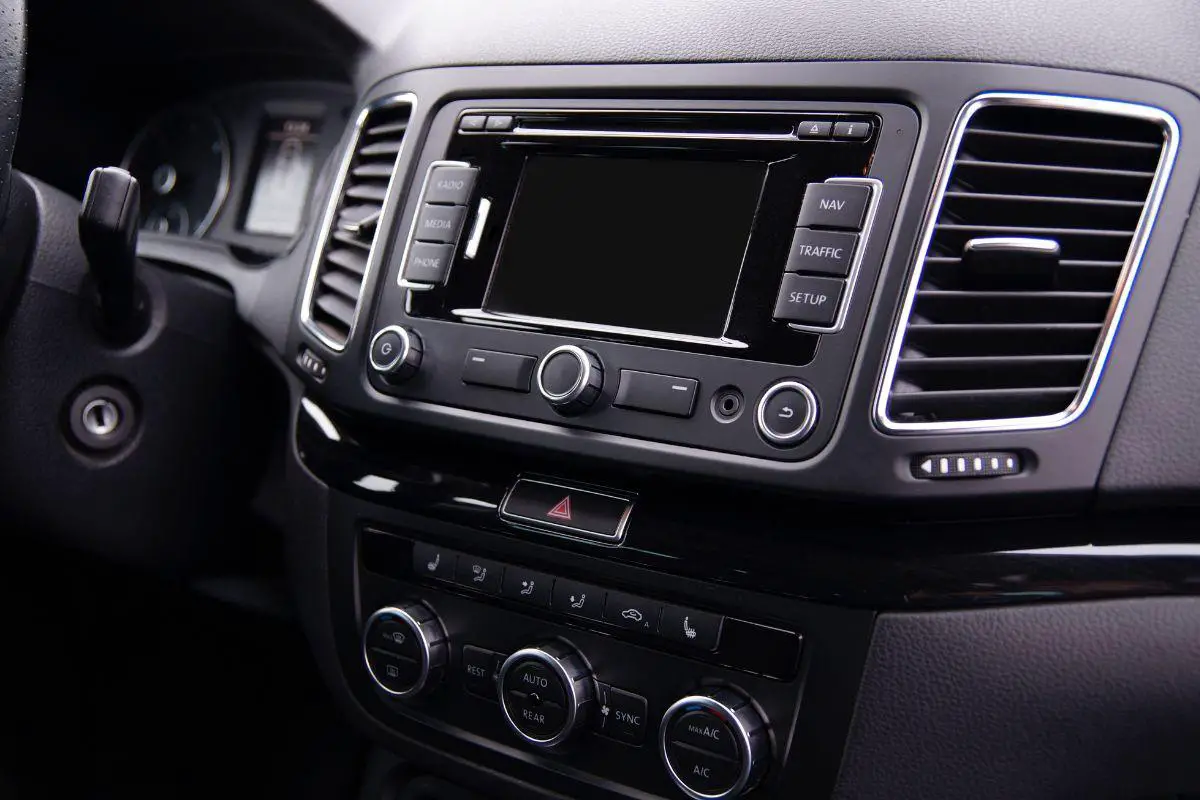
How to Remove the Factory Stereo from Your Car
Removing the factory stereo from your car is a necessary first step in installing an aftermarket system. Here’s how to do it like a pro:
1. Gather your tools: you’ll need some screwdrivers, a panel removal tool and maybe even a socket wrench set.
2. Disconnect that battery: Before beginning, be sure to disconnect the negative cable of the car battery for safety reasons.
3. Time to remove that dashboard panel: Carefully pry off the surround with your panel removal tool; don’t rush or else you could end up damaging parts of the dashboard!
4. Locate those mounting screws: Once everything’s open, quickly find out where exactly those screws are located (usually on top/bottom or sides).
5. Remove the screws: Unscrew them all out one by one using either screwdriver or socket wrenches – try not to drop anything into voids in between panels!
6. Detach wiring harnesses too: Pull out the now-exposed stereo unit and locate its wiring harnesses on the back side – press release clips connecting them till they come undone easily.
7. Don’t forget about antennae cables: These often connect at the rear part, so gently pull them apart before removing them completely from the vehicle interior area altogether!
8. Final step- take out the old stereo: Now, there should be nothing left keeping it attached so get ready to finally say goodbye as you no longer have use for this relic anymore… Just make sure you remember all these steps & components involved when replacing with a new audio setup later down the line too alright? Do refer to the owner manual if unsure about any process here, because the last thing you want is faulty installation causing further damage you know?
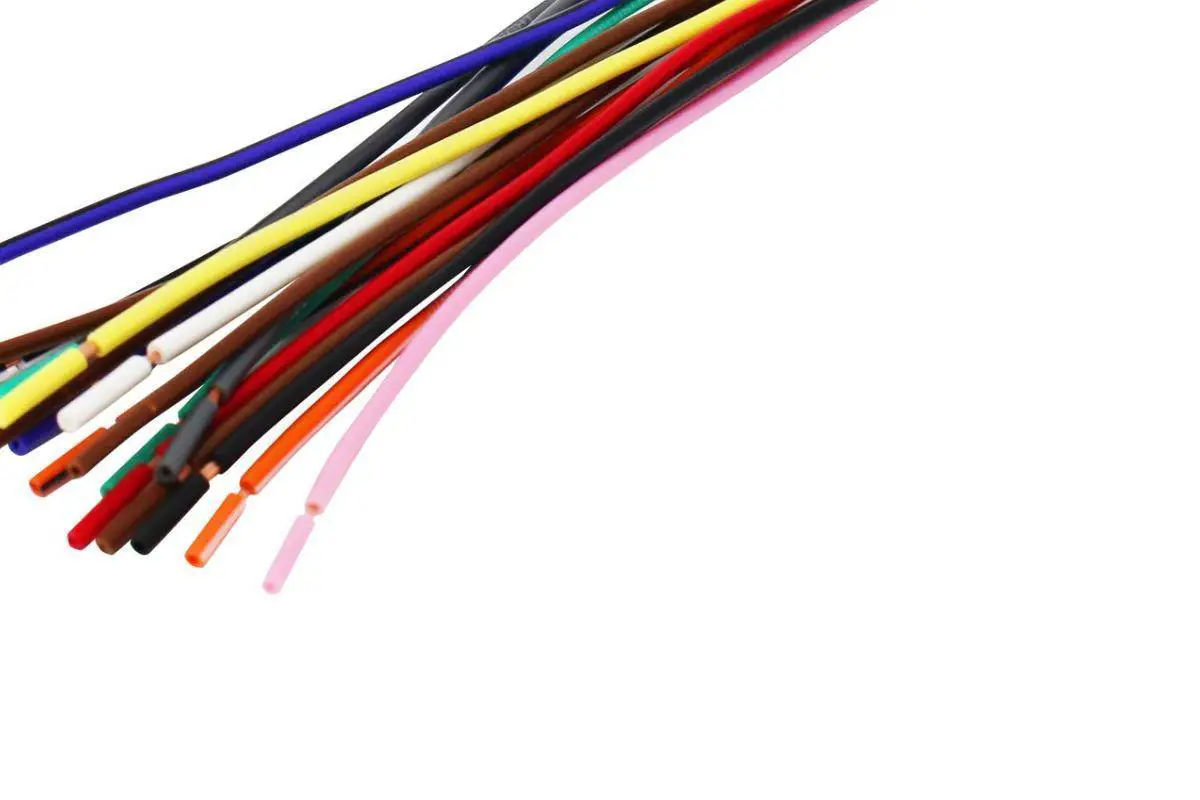
How to Wire Aftermarket Radio: Step-by-Step Guide
Having some knowledge of car audio systems and electrical wiring is essential for properly wiring an aftermarket radio, but don’t worry – here’s a step-by-step guide to help you out.
Step 1- Gather the tools
Get yourself a wiring harness adapter, crimp connectors, electrical tape, wire stripper/crimper tool, and most importantly a diagram of your car’s layout. It’s like having Bob Ross as your navigator!
Step 2- Prep the wires
Match up each colored wire from the new radio with its corresponding color on the harness adapter according to that sweet diagram you just got – it’ll be easier than getting Taylor Swift tickets!
Step 3- Connect them up
Strip off both ends of each wire using your trusty stripper/crimper tool. Then twist them together and secure them with those handy dandy crimp connectors before wrapping everything in electrical tape for extra protection…you know how Mom likes things done right?
Step 4- Hookup power & ground wires
The red one connects to any switched power source (like an ignition switch) while the black goes directly into a grounded point (aka metal frame). Don’t forget this or else you won’t get anywhere fast.
Step 5- Speaker setup time
Usually, speaker wires come in pairs such as green & green w/a black stripe which correspond perfectly with their buddy on the other side of the Harness Adapter.
Step 6- Antenna connection
The blue wire connects the antenna to the harness – so make sure it gets connected too, otherwise no tunes will be playing from your favorite radio stations!!
Step 7- Testing 1 2 3!!
Turn ON your Ride + Radio. It should now be fully operational. So check out all the features plus sound quality before you install her permanently because once she’s bolted down there, it will be time-consuming to undo and redo the entire installation process!!!
How to Install Aftermarket Radio without Harness
Installing an aftermarket radio without a wiring harness can be tricky, but it’s definitely doable with some extra work. Here’s the scoop on how to get that sweet new sound system up and running:
- Disconnect the battery – Before you start, disconnect your car battery for safety reasons!
- Pop out the factory radio – Depending on your car model, this could involve taking out screws or just unplugging cables from behind it; either way, make sure you consult your owner’s manual or online guides before doing anything drastic!
- Identify all the wires needed – For power (red), ground (black), and speaker connections. Use a wiring diagram of your specific vehicle model; sounds technical but don’t worry if you’re not an expert in circuitry – there are plenty of great tutorials available online to help guide you through this step like a boss!
- Connect these wires accordingly – Hook up the red wire to any switched power source such as the ignition switch while linking the black wire directly to a metal part of the frame is essential here so make sure they’re tightly connected!
- Time to tackle those pesky speakers – Most have two colored pairs used for each side, i.e. green & green w/ black stripe= left front, etc., Connect them properly according to their corresponding speaker connection in the car. Then double check everything again before moving forward.
- Don’t forget about the antennae cable – It’s usually blue in color, which should also be attached to its respective connector inside the dashboard compartment area lastly.
- Test out your setup prior to the installation process – Turn both the engine & stereo simultaneously, making sure all the features are in good working order along with the desired sound quality levels
- Secure all the connections – Secure with crimp connectors and electrical tape to ensure longevity even under the toughest conditions.
- Install the radio – Finally, install the radio with a dash mount kit. Now, you are ready to rock n roll!!
Testing and Tuning Your New Car Stereo System
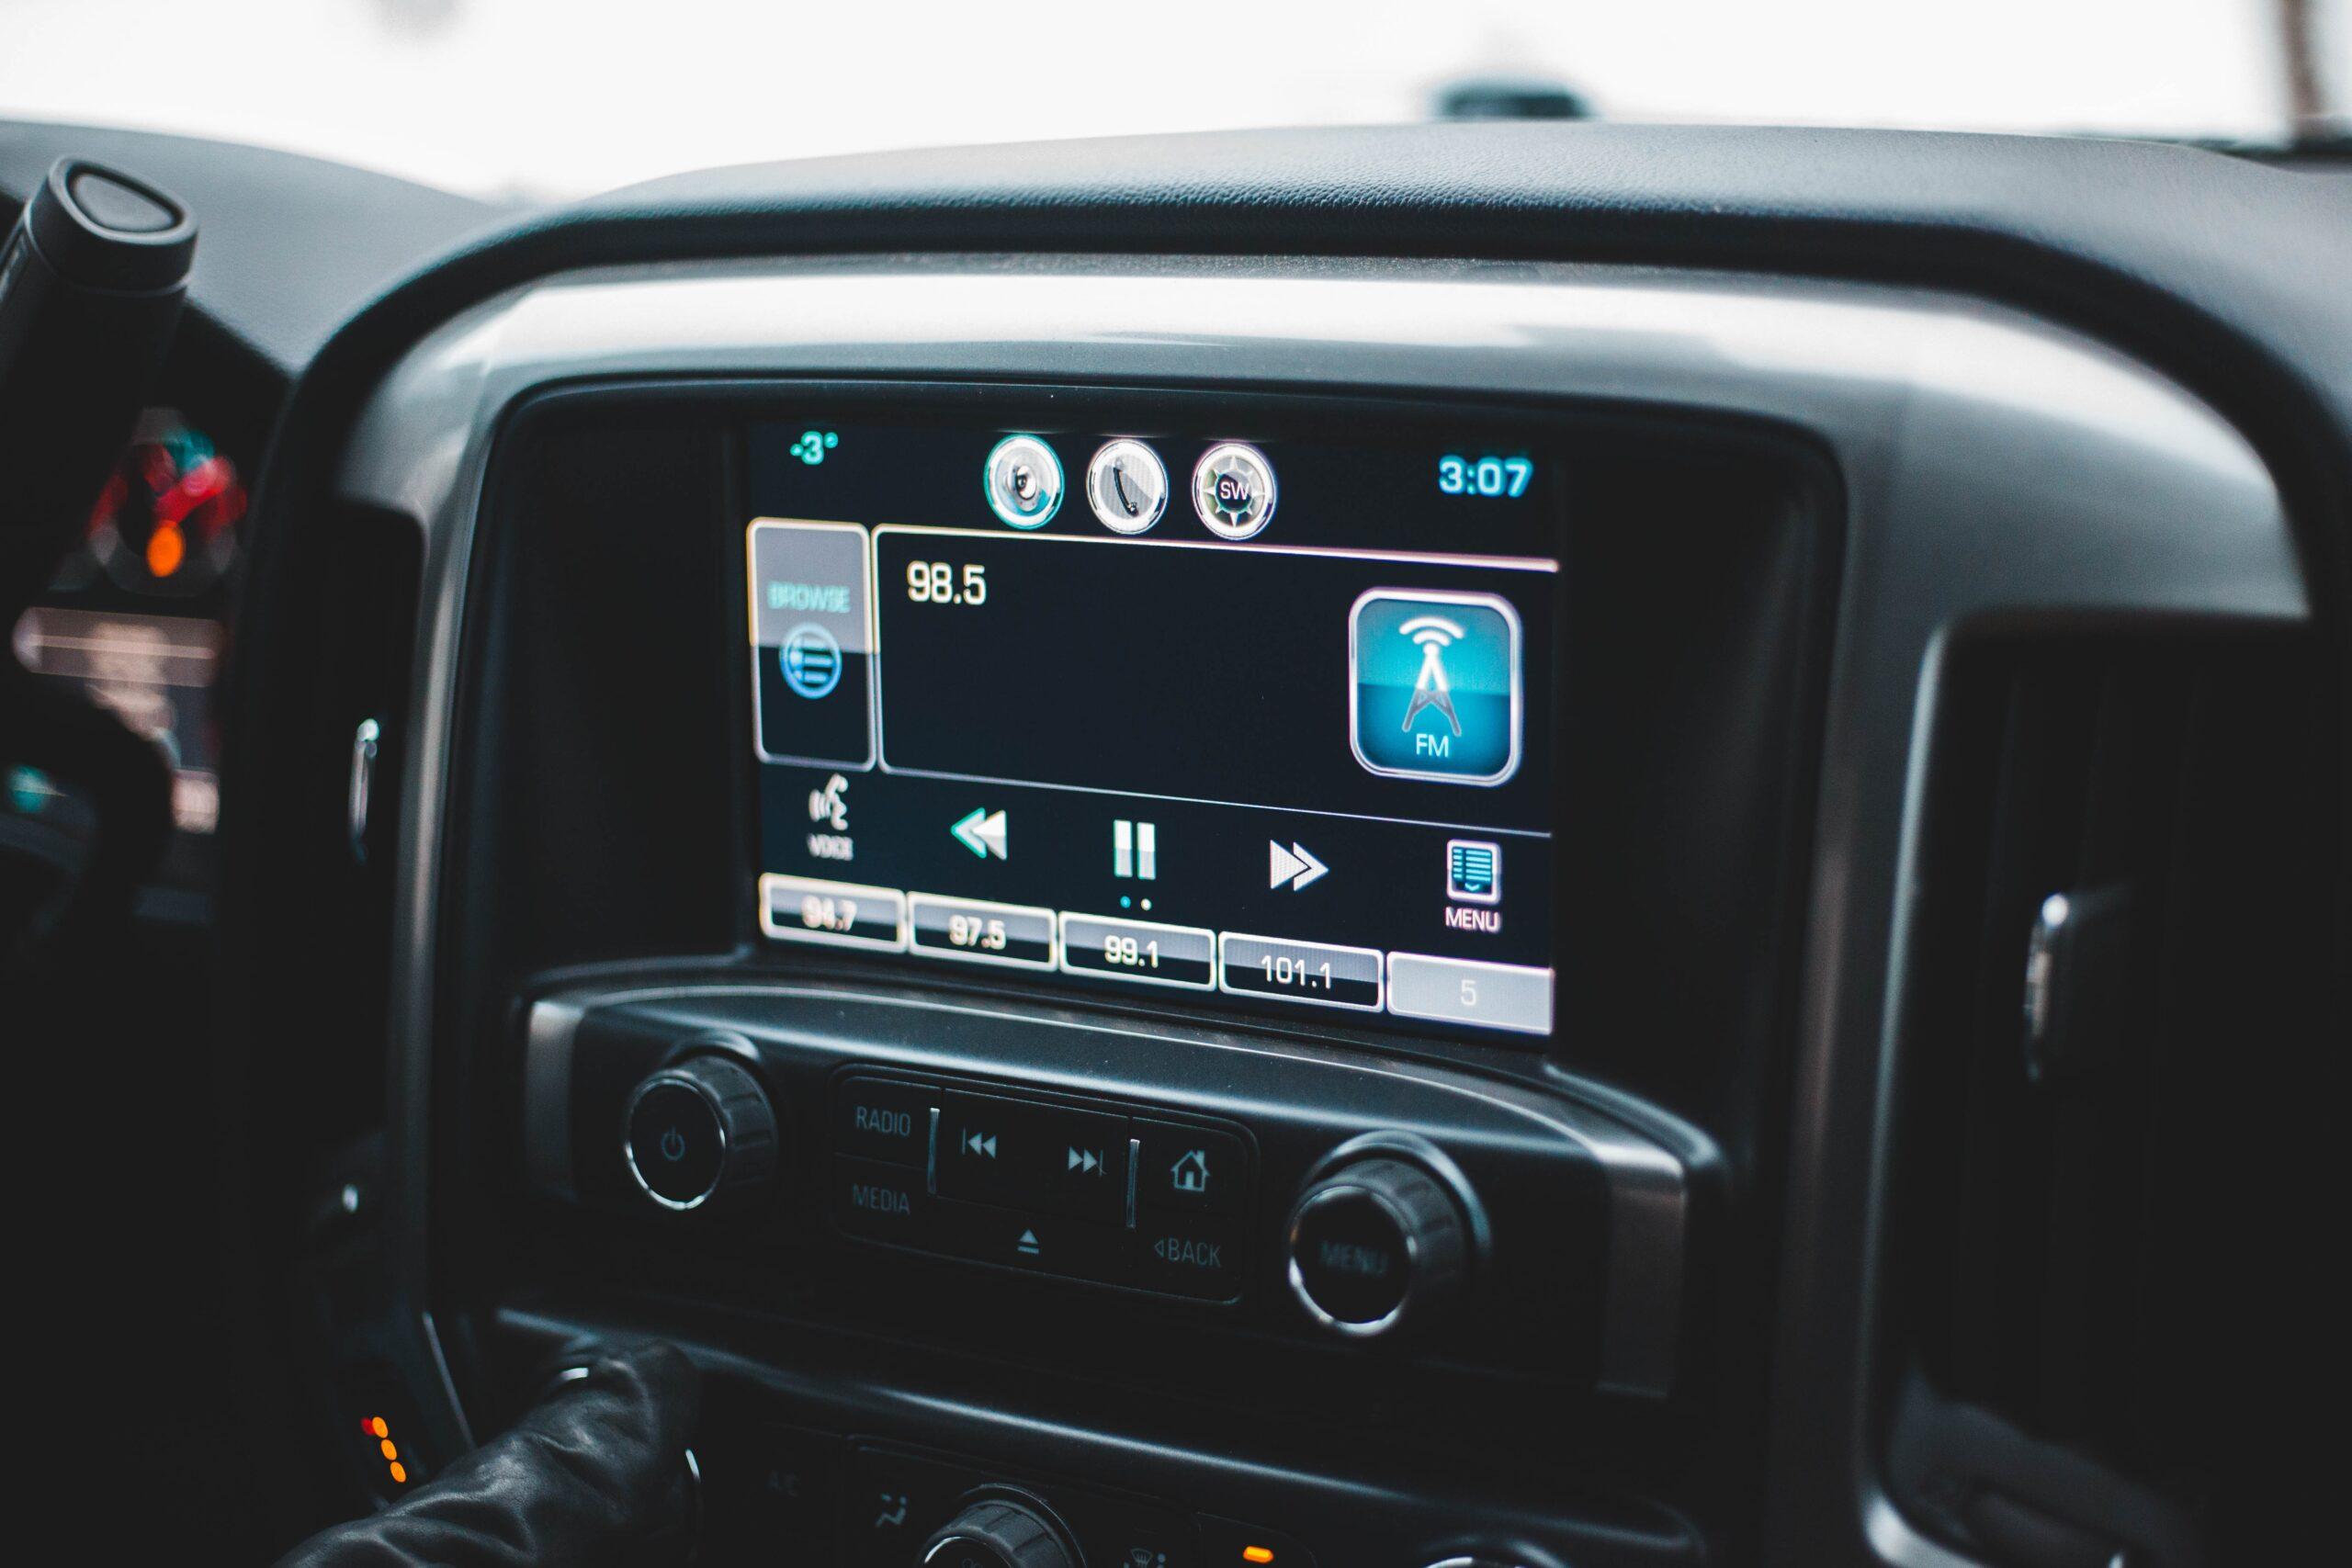
At this point, testing and tuning your new stereo system is key to getting optimal sound quality. Here’s how you can make sure you’re rocking out with crystal-clear audio:
1. Balance & Fader Adjustment – Use test tones or music with panning to dial in balance & fader settings, so each speaker (including front & rear) is heard equally.
2. EQ Settings – Start flat on the equalizer, then adjust bass/midrange/treble frequencies according to personal preference for a custom listening experience that will have you feeling like a superstar!
3. Time Alignment – Make sure the sound from all speakers reaches your ears at the same time by adjusting time alignment; it’ll create an enveloping soundstage that feels as real as if Beyonce was performing right there in your car!
4. Check Speaker Phase – Double check connections of both positive & negative wires for better imaging and superior sound quality overall–getting this step wrong would be totally ‘Lemony’.
5. Subwoofer Settings– For a balanced listening experience, set crossover frequency and level of subwoofers accordingly; they should blend seamlessly into other speakers without overpowering them.
6. Test Different Music Types – Put those tunes through their paces by jamming out some different genres on your new system—you may find weaknesses or areas needing further adjustment before having that perfect setup!
7. Sound Deadening – Consider adding materials such as foam pads or insulation mats inside doors/floorboards/trunk area to reduce external noise interference while amplifying internal sounds —especially helpful when cruising around town blasting your favorite tracks!
Troubleshooting Common Problems after Installing an Aftermarket Car Stereo
Installing an aftermarket car stereo can drastically upgrade the sound quality and features of your ride. But it’s not uncommon to have some problems that come up afterward. Take a look at the following troubleshooting tips for common issues when you’ve just installed an aftermarket car stereo:
- No audio? First, double-check that all speaker wires are connected properly and securely in place. Also, make sure that both volume levels are set right and mute isn’t accidentally activated on the radio itself.
- Bad sound? If what comes out ain’t sounding too hot, check if any wiring is loose or improperly grounded – also adjust EQ settings accordingly!
- Static/noise issue? Make sure grounding for both the amplifier and radio is secure; plus verify there aren’t any power cables crossing over other wires nearby (it happens).
- Radio reception trouble? Check to see if the antenna connection is intact – might need an adapter for better picking up signals from stations around you!
- Display wonky or incorrect information showing up on the screen? Ensure wiring connections are tight & look into updating firmware on your new radio setup as well.
- CD/USB playback hiccups presenting themselves? Be sure to confirm media format compatibility – corrupted files can be a real buzzkill here, so deal with that early enough!
- Are Bluetooth connecting woes giving you grief? Double-check its pairing process & tweak the settings accordingly; updating the firmware where needed should do the trick!
Safety Precautions on How to Install Aftermarket Radio
Installing an aftermarket car stereo is a great DIY project and can be genuinely rewarding, but it’s important to take the right safety measures so you don’t end up in some sort of vehicular mishap. To ensure a successful install, here are some pointers to keep in mind:
- Disconnect that battery – Always begin by disconnecting your vehicle’s battery before starting the installation process; this helps avoid electrical shocks and damage to your ride’s electrical system, plus prevents any accidental activation of airbags or other safety systems.
- Tools for the job – Get all necessary tools together for proper assembly — socket wrenches and pliers will come in handy when removing factory stereos. Wire strippers/crimpers are essential for installing new radios correctly without injuries or damage done to either party involved (car & radio).
- Safety first! – Put on those glasses, gloves & whatever else is needed as protection from debris & sharp edges during work time. Also, dress appropriately with shoes that won’t make you slip — no one wants accidents happening out there!
- Follow directions carefully – Don’t just rush into things without reading instructions thoroughly beforehand — they’re usually pretty easy-to-follow guides that help prevent mistakes along the way; if need be, seek professional assistance where required too (you know what they say about failing twice!).
- Wiring watchfulness– Be extra careful when dealing with wiring because improper fits may lead to potential shorts. Properly insulate wires and use cable ties/wire looms strategically throughout the setup. That way, everything will stay tidy yet organized enough should future adjustments arise down the line.
- Interference checks – After installation has been completed, remember to do a checkup scan for possible interference between installed the radio plus other electronic vehicle systems such as the AC. Ensure groundings have been made correctly plus proper shielding is used against outside influences that may cause static sound waves inside the cabin afterward.
By adhering strictly to these points, hopefully, you’ll successfully finish off any aftermarket car radio installations safely and efficiently every time! Also, never forget to take your sweet time whenever working on projects like this.
Final Thoughts on How to Install Aftermarket Car Stereo
Installing an aftermarket car stereo can be a fun and rewarding DIY project that can improve your driving experience. By following the right steps and using the right tools, you can install a new stereo that offers better sound quality, improved functionality, and modern features like Bluetooth connectivity and smartphone integration.
However, it’s important to take safety precautions and understand the process before starting the installation. Disconnecting the battery, wearing safety gear, and following the instructions carefully can prevent accidents and ensure a successful installation.
With the right knowledge and tools, you can enjoy your new car stereo with confidence and satisfaction. And if you’re not comfortable with the installation process, don’t hesitate to seek professional help. Remember, a well-installed aftermarket car stereo can enhance your driving experience and add value to your car.
Frequently Asked Questions on How to Install Aftermarket Car Stereo
Here are some frequently asked questions (FAQs) on how to install an aftermarket car stereo:
What tools do I need to install an aftermarket car stereo?
Well, for starters – a socket wrench, pliers, wire strippers, and crimpers. Electrical tape and panel removal tools are also essential when installing your new audio set up. A multimeter or soldering iron could be handy too!
Do I need to disconnect the battery before installing an aftermarket car stereo?
Don’t forget to disconnect the battery before starting any work! It’s critical not only to prevent electrical shocks but also to avoid damaging safety systems such as airbags.
Can I install an aftermarket car stereo myself or do I need professional help?
If you have experience with car audio installation and feel confident working with wiring then yes; however if it feels like mission impossible then get professional help instead of risking damage to both your vehicle and equipment.
How do I remove the factory stereo from my car?
Again, this will depend on the type of car model, so use a panel removal tool initially followed by loosening bolts using a socket wrench.
How do I wire the aftermarket car stereo to my car’s electrical system?
The connecting wires from your aftermarket car stereo must match those from your vehicle’s wiring harnesses. Strip insulation off each wire using wire strippers. Then attach them together using crimpers before securing everything firmly in place with either electrical tape or heat shrink tubing. Doing so allows for extra protection against becoming loose over time due to vibrations or other issues.
Related articles:
How to Install Double DIN Stereo in Your Car in 5 Steps
How to Install a Single Din Stereo in 7 Simple Steps
How to Install Noise Filter Car Audio in 4 Easy Steps

Kenny Owen is an acclaimed audio expert and longtime enthusiast with a deep passion for sound technology. With over 15 years of experience in the car and home audio industry, Kenny has established himself as a trusted authority on everything from speaker setups and amplifier configurations to the latest audio equipment and innovations.
Through his engaging writing style and meticulously researched articles, Kenny shares his vast knowledge on optimizing audio systems for superior sound quality. He provides in-depth tips and tricks for achieving the best listening experience, whether it’s tuning a car’s audio system for an immersive musical journey or creating a high-fidelity home theater setup. Additionally, Kenny’s comprehensive buying guides empower readers to make informed decisions when investing in audio components, ensuring they get the most bang for their buck.
