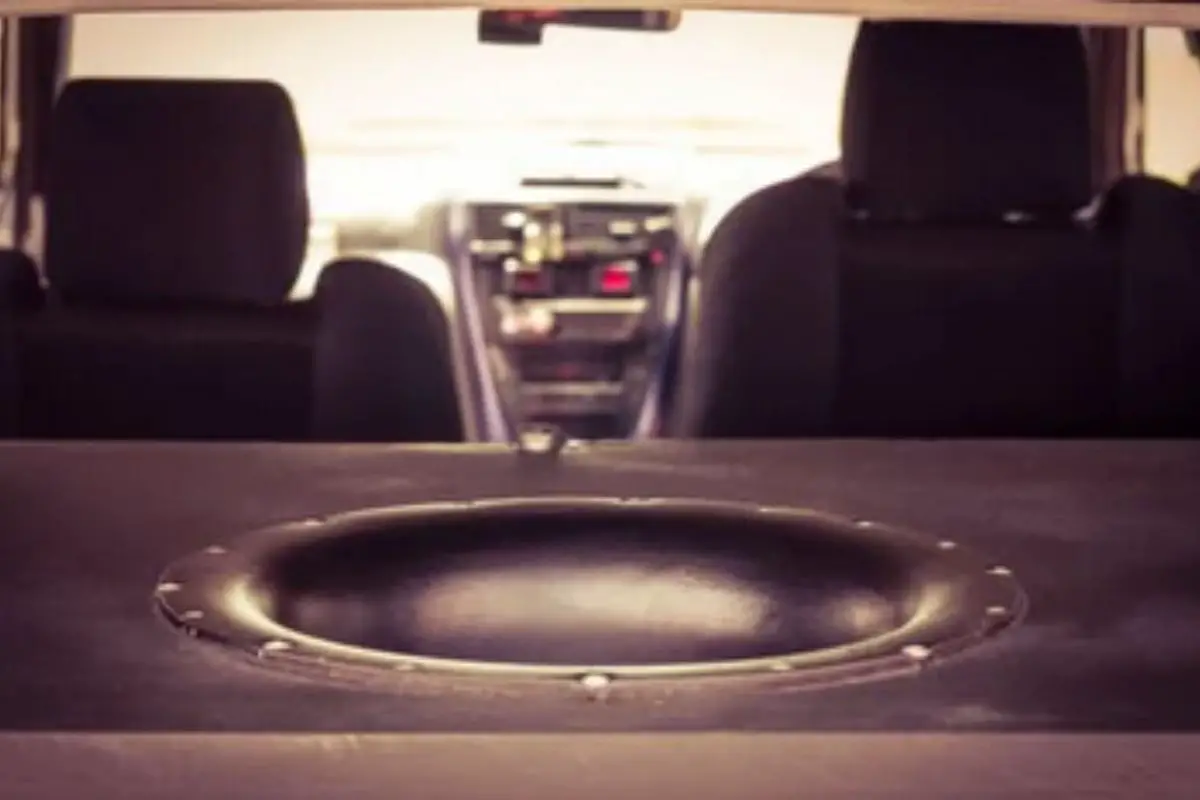
Nothing enhances a drive quite like thumpin’ bass rattling your rearview mirror. And while many factory car audio systems provide decent midrange and highs, they often lack true low-frequency extension for bone-shaking impact. Adding an aftermarket subwoofer system is the solution – but successfully putting a subwoofer in a car does require some knowledge.
In this detailed guide, we’ll cover the full process of installing subwoofers in a car from start to finish. We’ll look at important factors in choosing enclosure and subwoofer combinations that work for your specific vehicle. We’ll then get into wiring – running power from your battery, signal cables from your head unit, and instrumenting the system properly.
Finally, we’ll discuss amplifier settings, placement considerations for even bass response, and techniques for sound deadening your car to really make those subwoofers sing. Let’s explore the rewarding world of putting a subwoofer in a car!
Choosing Subwoofers and Enclosures
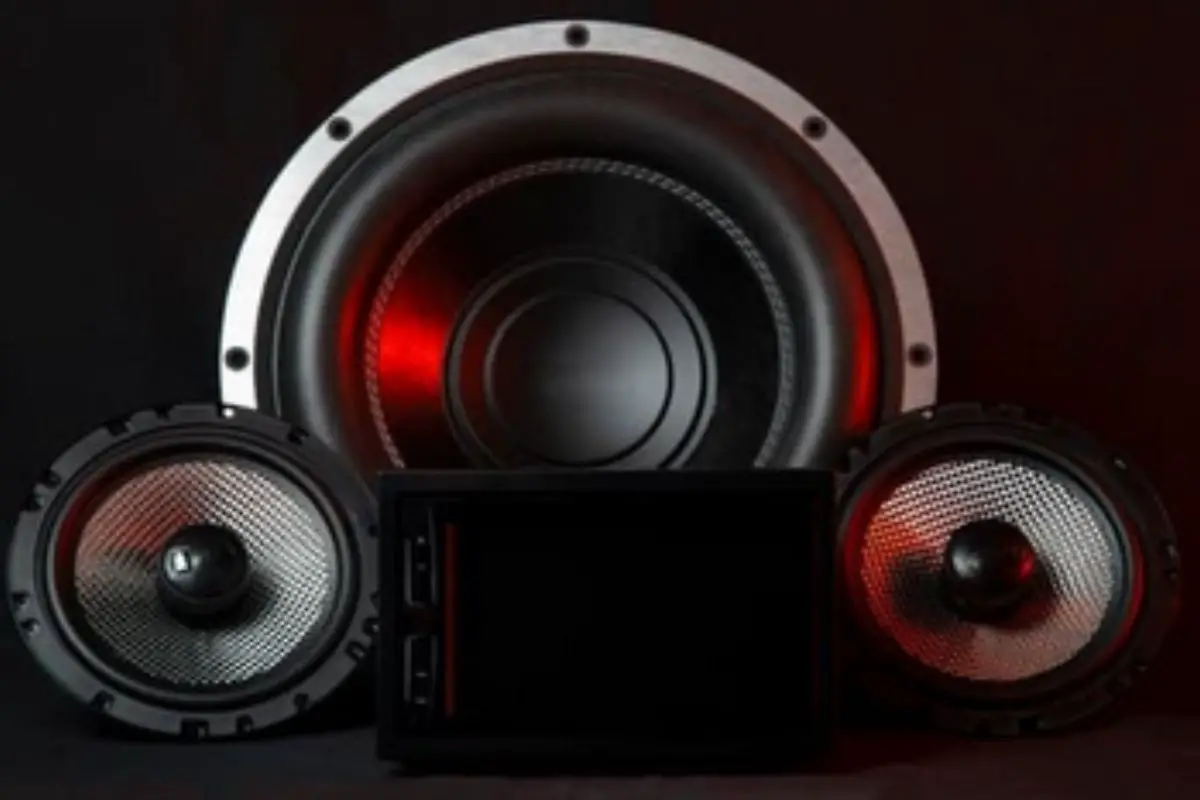
The foundation for impactful, distortion-free bass is the subwoofer itself working in harmony with a properly matched enclosure. Carefully selecting your gear based on intended use, available space, and acoustic traits prevents disappointment down the road.
Enclosure Types
Sealed, ported, and bandpass are common enclosure designs, each with pros and cons. Sealed boxes provide clean transient bass suited for fast genres like rock or EDM. Ported boxes boost low-frequency output significantly but sacrifice some tightness and precision. Bandpass enclosures isolate a targeted frequency range at the cost of versatility.
Consider your main music tastes when picking enclosure types – there’s no universally “best” option. Also, confirm interior dimensions and mounting patterns match your planned subwoofer. Precision tuning assumes correctly mated pairings.
Subwoofer Specifications
Pay close attention to specifications like driver size, impedance, power handling, and frequency response when researching your woofer itself. Larger drivers move more air for louder bass, while lower impedance loads require amplifiers able to supply sufficient current.
Power handling must exceed your amplifier’s per channel RMS wattage to avoid damaging your investment from clipping or distortion. And remember, a subwoofer’s job is reproducing low frequencies – 25 to 150Hz or so. Ultra-deep extension below 20Hz looks great on paper but may be inaudible.
Wiring & Installation Gear
With ideal sub/enclosure decisions made, next up is outfitting your car to integrate the system both mechanically and electrically. Proper wiring ensures clean signal transfer and safe power distribution for the best possible performance.
Electrical Considerations
High wattage sub amps require thick 4 or 8-gauge direct runs from your car’s battery to provide stable, noise-free current flow. Use protective grommets when routing power cables through firewalls or metal barriers. Also, incorporate high-quality fuse blocks for both overcurrent protection and simplified installation/removal.
Low voltage triggers and remote turn-on leads sync amplifier activation states with your head unit while RCA patch cables pass actual stereo audio signals. Taking the time to understand wiring logistics makes physical integration much smoother.
Mechanical Mounting
On the mechanical side, amplifier and enclosure mounting racks, backing plates, and hardware securely situate components while retaining accessibility for tuning adjustments. Sturdy MDF rings prevent unwanted box movement that could shift positioning over time. Vibration-damping materials like polyfill stuffing or butyl adhesive further reduce resonance for cleaner bass.
ProTip: Sketch your wiring runs and interior layout with components in place before doing anything permanent. Identifying potential mechanical or electrical issues on paper is much cheaper than cutting metal or wires!
Amplifier Settings & Tuning
All right – your bumping new subwoofer is mechanically integrated, electrically wired up, and ready to get loud. But resist cranking the volume knob just yet – properly configuring amplifier settings and fine-tuning for your car’s acoustics prevents wasted power and lackluster bass.
Crossover Configuration
Start by setting low pass filter crossover points to match the natural roll-off frequency of your subwoofers. For example, set to ~100Hz for 6.5” midbass woofers and ~80Hz for full-range speakers. This prevents “thin” overlapping midrange material from drawing energy.
Gain Structure
Next, set gain controls. Turn head unit volume to ~75%, play a 50Hz sine wave test tone, then slowly increase amplifier gain until clipping introduces audible distortion. Back it down until clean again, then… max out the head unit volume without touching gain again! This optimizes the signal-to-noise ratio for dynamic range.
EQ Adjustments
You can further tweak the amplifier EQ to target any peaky resonant frequencies causing one-note-wonder “boomy” bass due to cab reflections. Cut narrow spikes by 3-6dB but avoid over-boosting bass generically – that masks issues rather than fixing them.
Advanced Digital Signal Processing
For next-level tuning, some amplifiers feature auto-EQ correction, time alignment, and onboard DSP processing via integration with a calibration microphone. This approach mathematically analyzes in-cabin acoustics and makes precision adjustments for smoothed extended bass response. Worthwhile for bassheads!
Interior Acoustic Treatment
Now your amplifier is dialed in and subwoofers are banging. But what good is teeth-rattling bass if road noise and tire rumble overwhelm those sweet frequencies we worked so hard to achieve? Time to transform your tin can econobox into a rolling high-fidelity listening room!
Sound Deadening Materials
Self-adhesive sheets of butyl rubber, asphaltic membrane pads, and vibration-damping composites applied to sheet metal skin significantly reduce resonant exterior panel vibrations that induce interior noise pollution. Noticeable gains in music clarity and treble detail are side benefits too.
Mass Loaded Vinyl
Layering heavyweight, limp-mass-loaded vinyl across larger interior panels prevents buzzes and rattles by changing the resonant frequency and shifting the modal decay profile. 1-2 lbs per square foot is ideal. Avoid rigid or semi-rigid “decouplers” – the goal is damping, not isolation.
Polyurethane Foams & Insulation
For porous absorbent sound treatment, closed-cell polyurethane spray foams or synthetic insulation battens introduce friction and edge diffraction to break up and scatter sound waves rather than directly blocking them. Balance reflection and damping for an enveloping, smooth bass experience.
Final Thoughts on Putting a Subwoofer in a Car
Whew – there’s a ton to digest around properly putting a subwoofer in a car. At the foundation are smart equipment pairing decisions, robust electrical wiring, secure mechanical integration, precise tuning techniques… and understanding the relationship between your car’s structure itself and the resulting acoustic environment.
But going through the full process results in transformational bass bliss that enhances every drive. So embrace the challenge – chart your wiring plan, sketch the layout, crunch the specs… Then bask in the thunder of musical satisfaction that only hard-hitting car audio subwoofers can provide!
Also read:
Discover the Best 10 Inch Subwoofers for Mind-Blowing Bass
Best 8 Inch Subwoofer Reviews: Unleash Thunderous Bass!
Best Car Amplifier for Bass – Top 10 Picks

Kenny Owen is an acclaimed audio expert and longtime enthusiast with a deep passion for sound technology. With over 15 years of experience in the car and home audio industry, Kenny has established himself as a trusted authority on everything from speaker setups and amplifier configurations to the latest audio equipment and innovations.
Through his engaging writing style and meticulously researched articles, Kenny shares his vast knowledge on optimizing audio systems for superior sound quality. He provides in-depth tips and tricks for achieving the best listening experience, whether it’s tuning a car’s audio system for an immersive musical journey or creating a high-fidelity home theater setup. Additionally, Kenny’s comprehensive buying guides empower readers to make informed decisions when investing in audio components, ensuring they get the most bang for their buck.
