As a professional car audio installer with over 15 years of experience, I’ve wired countless tweeters in vehicles of all makes and models. I understand that learning how to wire tweeters in a car can seem daunting at first, but with the right guidance, it’s a project that many car audio enthusiasts can tackle. In this comprehensive guide, I’ll walk you through the process step-by-step, sharing insights I’ve gained from working on hundreds of installations.
1. Introduction
A. Importance of tweeters in car audio systems
Tweeters are crucial components of any high-quality car audio system. They’re responsible for reproducing high-frequency sounds, typically above 2,000 Hz, which include the upper ranges of instruments like cymbals, violins, and even human voices. Without properly installed tweeters, your car’s audio system will lack clarity and detail in the higher frequencies, resulting in a flat and uninspiring sound.
B. Brief overview of the wiring process
Wiring tweeters in a car involves several key steps: choosing the right tweeters, determining their optimal placement, running speaker wire to the tweeter locations, connecting the tweeters to your existing speakers or amplifier, and fine-tuning the system for the best sound quality. While it may sound complex, I’ll break down each step to make it manageable for even novice installers.
C. Safety considerations
Before we dive into the specifics of how to wire tweeters in a car, it’s crucial to address safety. Working with your vehicle’s electrical system can be dangerous if proper precautions aren’t taken. Always disconnect the car battery before starting any work, wear safety glasses to protect your eyes from debris, and use insulated tools to prevent accidental shorts. Remember, safety should always be your top priority when working on your vehicle.
2. Understanding Tweeters and Their Role
A. What are tweeters?
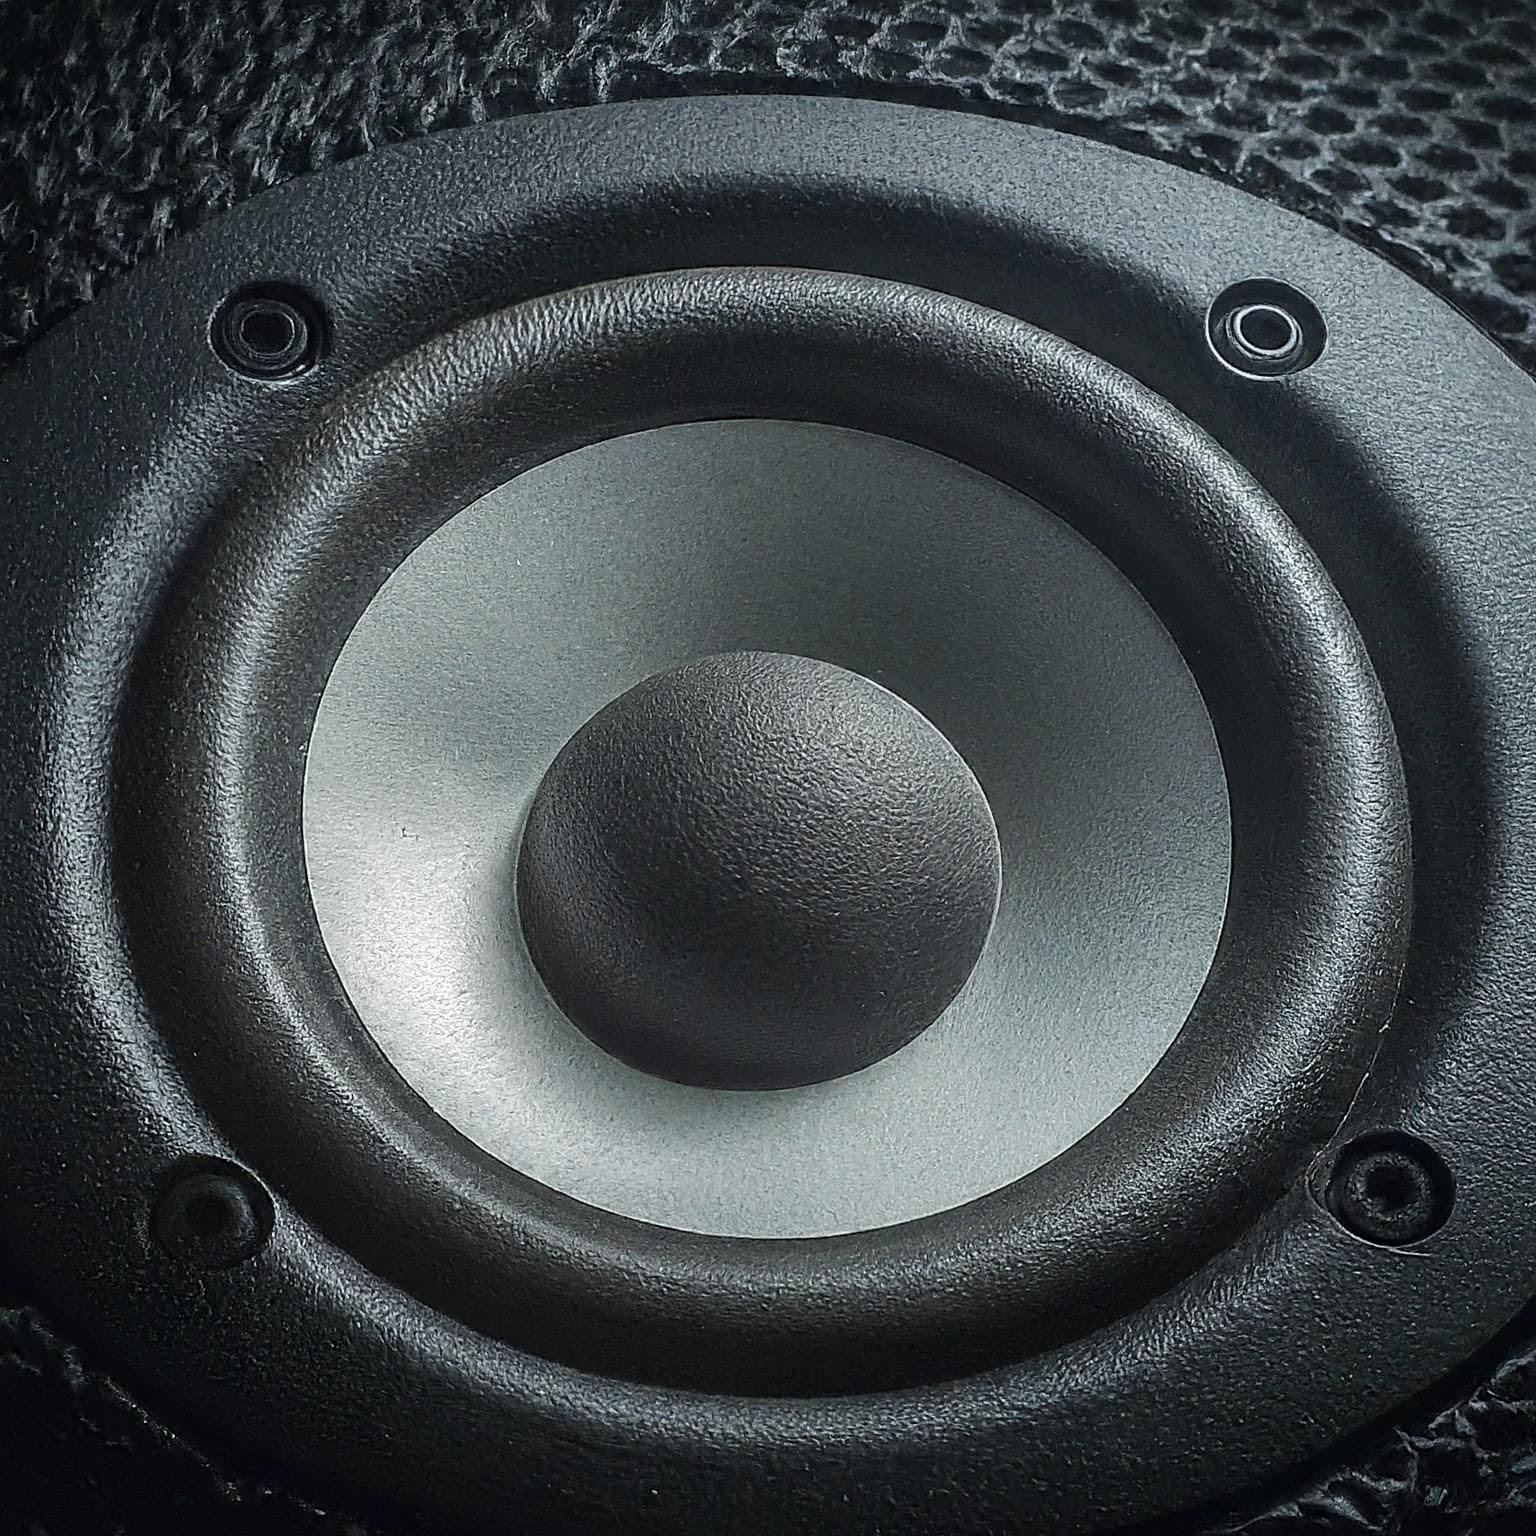
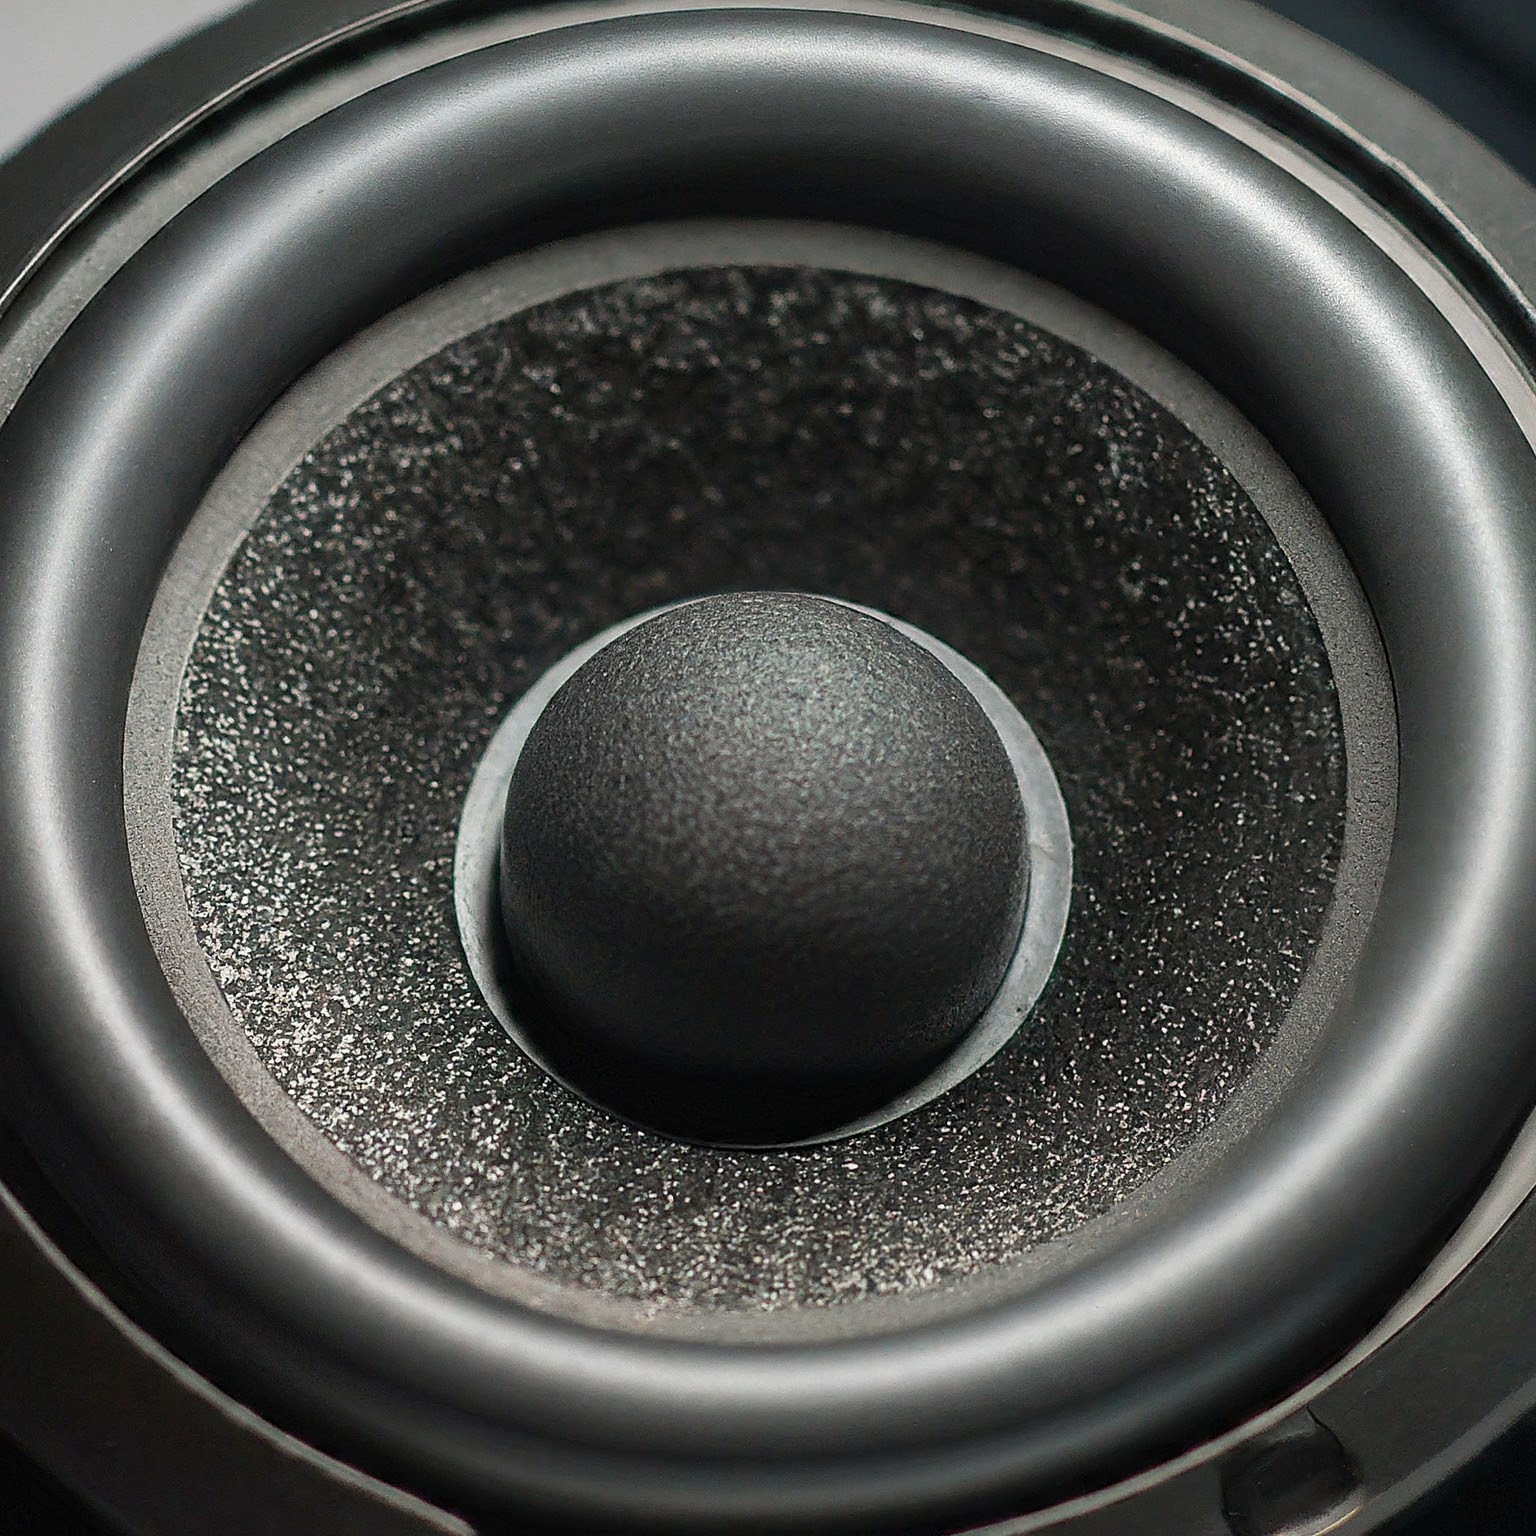
Tweeters are specialized speakers designed to reproduce high-frequency sounds. They’re typically small, usually between 0.5 to 1.5 inches in diameter, which allows them to vibrate quickly and produce crisp, clear high notes. In my experience, a good set of tweeters can make a world of difference in the overall sound quality of your car’s audio system.
B. How tweeters improve sound quality
I’ve had countless clients amazed at the difference properly installed tweeters can make. They add brilliance and detail to your music, bringing out nuances you might have missed before. Tweeters improve the soundstage in your vehicle, creating a more immersive listening experience. They help balance the overall frequency response of your system, complementing the mid-range drivers and subwoofers to produce a full, rich sound.
C. Types of tweeters for cars
Over the years, I’ve worked with various types of tweeters, each with its own characteristics:
1. Dome tweeters: These are the most common type I install. They offer wide dispersion and smooth response. They can be made of different materials like silk, aluminum, or titanium, each affecting the sound character.
2. Horn tweeters: These are highly efficient and great for high-volume systems. They have a distinctive sound that some listeners love for its liveliness.
3. Ribbon tweeters: Less common in car audio, but they offer excellent detail and a wide soundstage. They’re more delicate and usually more expensive.
4. Piezo tweeters: These are inexpensive and very efficient, but in my experience, they don’t offer the same sound quality as other types.
3. Preparation for Wiring Tweeters
A. Tools and materials needed
Before you start wiring tweeters in your car, it’s essential to gather all the necessary tools and materials. Based on my years of experience, here’s what you’ll need:
1. Tweeters (obviously!)
2. Speaker wire (16-18 gauge is usually sufficient)
3. Wire strippers
4. Crimping tool and crimp connectors
5. Screwdriver set (both flathead and Phillips)
6. Panel removal tools
7. Drill and drill bits (if you need to create new mounting holes)
8. Multimeter
9. Electrical tape or heat shrink tubing
10. Wire ties for cable management
Having all these tools ready before you start will make the process much smoother and help you avoid unnecessary interruptions.
B. Choosing the right tweeters for your car
Selecting the right tweeters is crucial for achieving the best sound in your vehicle. I always advise my clients to consider several factors:
1. Power handling: Ensure the tweeters can handle the power output of your head unit or amplifier.
2. Impedance: Match the impedance (usually 4 ohms) with your existing system.
3. Sensitivity: Higher sensitivity means the tweeter will produce more volume with less power.
4. Frequency range: Look for tweeters that can reproduce frequencies up to at least 20 kHz.
5. Size and mounting options: Make sure the tweeters will fit in your desired mounting location.
Remember, the most expensive option isn’t always the best. I’ve often achieved great results with mid-range tweeters that pair well with the existing system.
C. Determining optimal tweeter placement
Proper tweeter placement is crucial for achieving the best sound stage and imaging in your car. In my experience, there are several common mounting locations, each with its pros and cons:
1. A-pillars: This is often my preferred location. It provides excellent sound stage and imaging, placing the high frequencies at ear level.
2. Dash corners: A good alternative if A-pillar mounting isn’t possible. It still keeps the tweeters relatively high and can provide good sound stage.
3. Door panels: This is common in factory systems and can work well, especially if your mid-range drivers are in the doors.
4. Sail panels: These small triangular panels near the side mirrors can be a great spot for tweeters, offering good dispersion and a relatively easy installation.
When deciding on placement, consider the following:
– Height: Tweeters should ideally be at or slightly below ear level for the best imaging.
– Angle: Aim the tweeters towards the listeners for the best high-frequency response.
– Symmetry: Ensure both tweeters are mounted symmetrically for balanced sound.
4. Step-by-Step Guide to Wiring Tweeters

Now that we’ve covered the basics, let’s dive into the actual process of how to wire tweeters in a car. I’ll guide you through each step based on my extensive experience in the field.
A. Disconnecting the car battery
Safety first! Before you start any electrical work in your car, always disconnect the negative terminal of the battery. This prevents any risk of short circuits or electrical shocks. I’ve seen too many DIY jobs go wrong because this simple step was skipped.
B. Removing door panels or other components
Depending on where you’re mounting your tweeters, you’ll likely need to remove some interior panels. This could be door panels, A-pillar trim, or dash components. Use proper panel removal tools to avoid damaging your car’s interior. I always recommend taking photos as you go – it makes reassembly much easier!
C. Running speaker wire to tweeter locations
This step requires patience and attention to detail. You’ll need to run new speaker wire from your head unit or amplifier to the tweeter locations. I always try to follow existing wire paths when possible. This usually means going under the dash, through the door boots, and up to the tweeter locations.
When running wires, keep these tips in mind:
– Use grommets when passing through metal surfaces to prevent wire damage.
– Secure wires along the way with zip ties or tape to prevent rattles.
– Keep speaker wires away from power cables to avoid interference.
D. Connecting tweeters to existing speakers
There are two main methods for connecting tweeters to your existing speakers: parallel and series wiring.
1. Parallel wiring method
This is the most common method I use. Here’s how it works:
– Connect the positive wire from the amplifier or head unit to both the positive terminal of the main speaker and the positive terminal of the tweeter.
– Connect the negative wire similarly to both negative terminals.
This method maintains the overall impedance of your system and is generally easier to implement.
2. Series wiring method
Sometimes, particularly with component systems, series wiring is preferred:
– Connect the positive wire from the amp/head unit to the positive terminal of the main speaker.
– Connect the negative terminal of the main speaker to the positive terminal of the tweeter.
– Connect the negative terminal of the tweeter to the negative wire from the amp/head unit.
This method increases the overall impedance, which can be beneficial in some setups but may require more power.
E. Using crossovers for better sound quality
In my professional opinion, using crossovers is crucial for getting the best sound from your tweeters. Crossovers ensure that only high frequencies are sent to the tweeters, preventing distortion and potential damage.
If your tweeters came as part of a component set, they likely include passive crossovers. Install these according to the manufacturer’s instructions, typically inline between the amplifier and the tweeter.
For more advanced setups, I often recommend active crossovers, which allow for more precise control over the frequency split between your speakers.
F. Mounting tweeters securely
Proper mounting is crucial for optimal sound and to prevent rattles or buzzes. Depending on the mounting location and type of tweeter, you might need to create custom mounts or use the provided mounting hardware.
When surface mounting, I always ensure a tight seal between the tweeter and the mounting surface. For flush mounting, take care to make clean cuts and use a mounting ring for a professional finish.
5. Advanced Wiring Techniques

For those looking to take their car audio to the next level, there are some advanced techniques to consider.
A. Bi-amping tweeters for improved performance
Bi-amping involves using separate amplifier channels for your tweeters and mid-range drivers. This allows for more power and control over each driver. In my experience, bi-amping can significantly improve clarity and dynamics, especially in high-end systems.
B. Using passive vs. active crossovers
I touched on this earlier, but it’s worth expanding on. Passive crossovers are simpler to install and don’t require additional amplifier channels. However, active crossovers offer much more flexibility in tuning your system. They allow you to adjust the crossover point and slope for each driver, resulting in more precise sound tailoring.
C. Balancing tweeter output with other speakers
Achieving the right balance between your tweeters and other speakers is crucial for a natural, enjoyable sound. Most passive crossovers include attenuation settings for the tweeters. Don’t be afraid to experiment with these to find the right balance for your ears and your vehicle’s acoustic environment.
6. Troubleshooting Common Issues
Even with careful installation, issues can arise. Here are some common problems I’ve encountered and how to solve them:
A. No sound from tweeters
If you’re not getting any sound from your tweeters, first check all your connections. Ensure the polarity is correct (positive to positive, negative to negative). Also, verify that your crossover is correctly installed and that the tweeter isn’t blown by testing it with a multimeter.
B. Distorted or unclear sound
Distortion often results from overdriving the tweeters or incorrect crossover settings. Lower the gain on your amplifier and adjust the crossover frequency. Ensure the tweeters are only receiving high frequencies they’re designed to handle.
C. Tweeter damage prevention
Tweeters are delicate and can be easily damaged by too much power or low frequencies. Always use an appropriate crossover, and be cautious with volume levels, especially when first testing your system.
7. Fine-Tuning Your Car Audio System
Once your tweeters are installed and working, it’s time for the fun part – fine-tuning your system for the best possible sound.
A. Adjusting equalizer settings for tweeters
Start with a flat EQ and make small adjustments. I usually find that a slight cut in the very highest frequencies (around 16-20 kHz) can reduce harshness without losing detail.
B. Proper sound staging techniques
Aim for a soundstage that extends across your dashboard, with a center image just above your steering wheel. Adjust the balance and fader controls to achieve this. Time alignment, if your head unit offers it, can significantly improve imaging.
C. Balancing frequencies for optimal sound
The goal is a smooth, balanced frequency response. Use pink noise and a real-time analyzer app on your smartphone to identify peaks or dips in the response. Make small adjustments to your EQ to flatten these out.
8. Maintenance and Care for Wired Tweeters
Proper maintenance will ensure your tweeters continue to perform at their best for years to come.
A. Regular cleaning and inspection
Dust and debris can accumulate on your tweeters over time, affecting their performance. Gently clean them with a soft, dry brush or cloth. Never use liquids or harsh chemicals.
B. Protecting tweeters from moisture and heat
Excessive heat and moisture are enemies of all car audio components. If your tweeters are mounted in doors, ensure proper water protection. For dash-mounted tweeters, use a windshield sunshade when parked to reduce heat exposure.
C. When to replace tweeters
Quality tweeters can last for many years with proper care. However, if you notice a significant drop in high-frequency output, distortion that can’t be resolved with adjustments, or physical damage to the tweeter dome, it may be time for a replacement.
9. Legal and Safety Considerations
A. Local laws regarding car audio modifications
Be aware of local laws regarding car modifications. Some jurisdictions have restrictions on aftermarket audio installations, particularly concerning external noise levels.
B. Maintaining visibility and driver safety
Ensure your tweeter installation doesn’t obstruct your view or interfere with any safety features of your vehicle. This is particularly important for A-pillar or dash-mounted tweeters.
C. Avoiding electrical system overload
High-powered audio systems can strain your car’s electrical system. If you’re adding a significant amount of audio equipment, consider upgrading your alternator or adding a secondary battery.
10. Conclusion
A. Recap of key points
Learning how to wire tweeters in a car is a rewarding project that can significantly enhance your driving experience. Remember the key steps: choose the right tweeters, determine optimal placement, run wires carefully, use appropriate crossovers, and take time to fine-tune your system.
B. Importance of proper tweeter installation
Proper installation is crucial for getting the best performance from your tweeters. Take your time, follow the steps outlined in this guide, and don’t hesitate to seek professional help if you’re unsure about any aspect of the installation.
C. Encouragement to enjoy improved sound quality
Once you’ve successfully installed and tuned your tweeters, take some time to enjoy your favorite music. You’ll likely hear details you’ve never noticed before, with improved clarity and a more expansive soundstage.
FAQs
1. Can I install tweeters without removing my car’s existing speakers?
Yes, in most cases, tweeters can be added to complement your existing speakers. They’re typically wired in parallel with your main speakers.
2. Do I need an amplifier to power my tweeters?
While tweeters can be powered by a standard head unit, an amplifier can provide cleaner power and allow for more control over your audio system.
3. How do I know if my tweeters are blown?
Signs of blown tweeters include no high-frequency output, distorted sound, or a rattling noise. You can test them with a multimeter to confirm.
4. Can I mount tweeters in my car’s rear deck?
While possible, I generally don’t recommend rear deck mounting for tweeters. It can negatively impact the front soundstage and imaging.
5. How often should I replace my car’s tweeters?
With proper care, quality tweeters can last many years. Replace them if you notice a significant decline in sound quality or physical damage.
6. Is it better to mount tweeters on-axis or off-axis?
This depends on the specific tweeter and your car’s interior. Generally, on-axis mounting provides more direct high-frequency response, while off-axis can offer a wider dispersion. Experiment to see what sounds best in your vehicle.
7. Can I use home audio tweeters in my car?
While technically possible, I don’t recommend it. Car audio tweeters are designed to withstand the unique environment of a vehicle, including temperature extremes and vibrations.
Remember, the key to a great-sounding car audio system is patience and attention to detail. Take your time with the installation, and don’t be afraid to make adjustments until you achieve the sound you’re looking for. Happy listening!

Kenny Owen is an acclaimed audio expert and longtime enthusiast with a deep passion for sound technology. With over 15 years of experience in the car and home audio industry, Kenny has established himself as a trusted authority on everything from speaker setups and amplifier configurations to the latest audio equipment and innovations.
Through his engaging writing style and meticulously researched articles, Kenny shares his vast knowledge on optimizing audio systems for superior sound quality. He provides in-depth tips and tricks for achieving the best listening experience, whether it’s tuning a car’s audio system for an immersive musical journey or creating a high-fidelity home theater setup. Additionally, Kenny’s comprehensive buying guides empower readers to make informed decisions when investing in audio components, ensuring they get the most bang for their buck.
