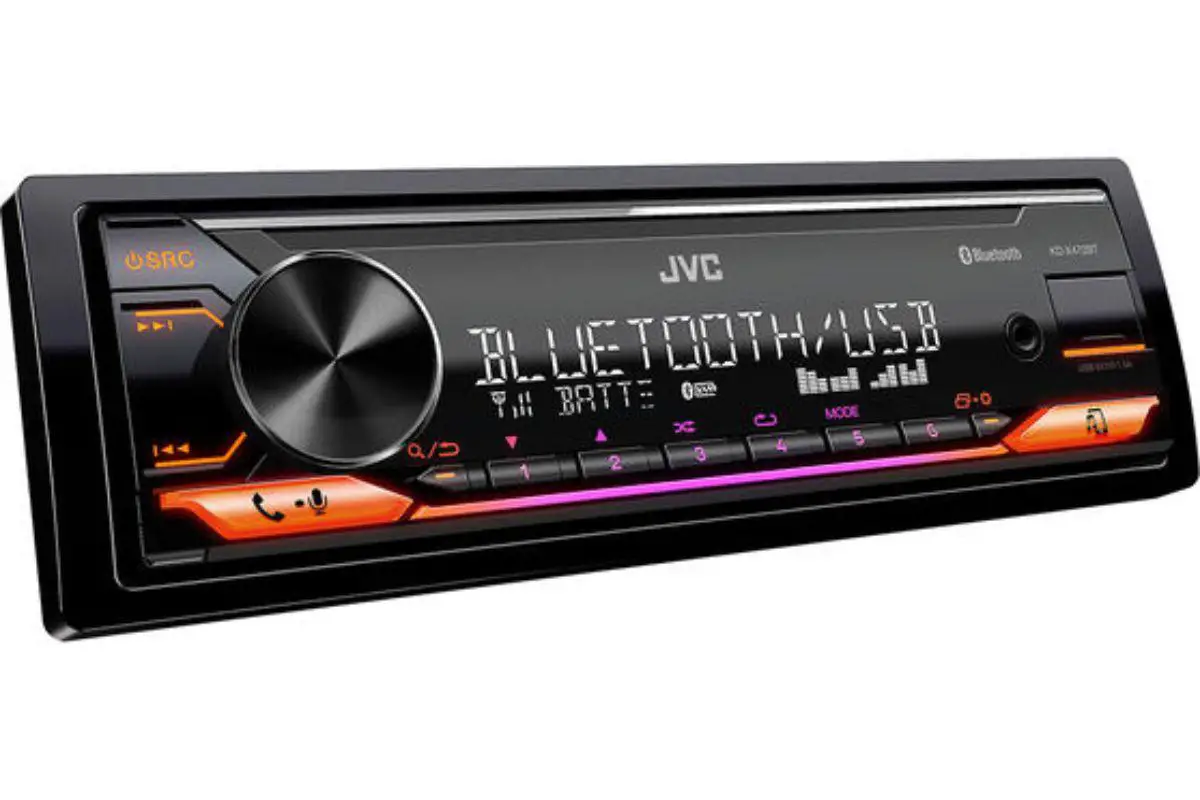
Single DIN car stereos provide the basics of modern connectivity. Blast tunes and make hands-free calls with a Bluetooth connection to your smartphone. Plug in USB drives for audio or keep devices charged via its USB port, plus there’s an auxiliary (AUX) input to attach external music players like MP3s. Tune into traditional radio stations using AM/FM tuners, all from one compact unit! In this guide, we will show you how to install a single din stereo.
Step 1- Gathering the Right Tools
Before diving into the installation process, let’s start by ensuring you have all the necessary tools at hand. Gather the following items:
- Single DIN stereo unit
- Wire harness adapter
- Dash kit
- Crimping tool
- Screwdriver set
- Panel removal tool
- Electrical tape
Step 2- Preparing for Installation:
i. Disconnect the car’s battery: Begin by disconnecting the negative terminal of your car’s battery to ensure safety and prevent any electrical mishaps during the installation process.
ii. Gather Information: Refer to the user manual of your single DIN stereo and your car’s manual to understand the specific requirements and compatibility factors involved.
Step 3- Removing the Existing Stereo
i. Access the dashboard: Use the panel removal tool to carefully pry off the trim panel that surrounds your existing stereo. Be gentle to avoid damaging the panel.
ii. Unplug the old stereo: Once the trim panel is removed, you’ll find screws securing the stereo. Unscrew them and gently pull out the stereo. Disconnect the wiring harness and antenna cable from the back of the unit.
Step 4- Wiring the Harness Adapter
i. Connecting the wire harness adapter: Another important step on how to install a single din stereo is to connect the harness adapter. Simply grab a compatible harness for your make and model, then plug it in. Make sure all the wires are color-coded correctly according to instructions.
ii. Connecting the adapter to the stereo: After that, attach the other end of the adapter to your single DIN stereo – like two puzzle pieces fitting together perfectly! Double check everything’s secure before you hit cruise control on this project.
Step 5. Mounting the Dash Kit
i. Assembling the dash kit: Follow the instructions provided with the dash kit to assemble it properly. The dash kit will provide a sleek and snug fit for your new single DIN stereo.
ii. Mounting the dash kit: Secure the assembled dash kit into the vacant space left by the old stereo. Use the screws provided with the dash kit to ensure a tight fit.
Step 6. Installing the Single DIN Stereo
i. Insert the stereo into the dash kit: Carefully slide the single DIN stereo into the dash kit until it fits snugly. Ensure that it is aligned properly and sits flush with the dashboard.
ii. Securing the stereo: Use the screws provided with the single DIN stereo to secure it in place. Make sure not to overtighten the screws, as it may damage the unit or the dash kit.
Step 7. Final Touches
i. Reconnect the battery: Once the stereo is securely in place, reconnect the car’s battery by attaching the negative terminal. This will restore power to the car’s electrical system.
ii. Test your new stereo: This is the final step on how to install a single din stereo. Simply turn on the car and test your newly installed single DIN stereo. Adjust the settings, test the sound quality, and make sure all functions are working correctly.
Conclusion
Congrats! You did it – you installed a single DIN stereo in your car like a pro. Your audio experience just got an upgrade, and now all that’s left to do is hit the road with style and enjoy your superior sound system.
If any bumps come up during installation, don’t be afraid to consult an expert for help; remember, your confidence comes from being prepared and knowledgeable! So go on ahead: get ready to rock out with awesome tunes brought by exceptional audio quality.
Also read:
Single vs Double Din Car Stereo Demystified
How to Install Double DIN Stereo in Your Car in 5 Steps

Kenny Owen is an acclaimed audio expert and longtime enthusiast with a deep passion for sound technology. With over 15 years of experience in the car and home audio industry, Kenny has established himself as a trusted authority on everything from speaker setups and amplifier configurations to the latest audio equipment and innovations.
Through his engaging writing style and meticulously researched articles, Kenny shares his vast knowledge on optimizing audio systems for superior sound quality. He provides in-depth tips and tricks for achieving the best listening experience, whether it’s tuning a car’s audio system for an immersive musical journey or creating a high-fidelity home theater setup. Additionally, Kenny’s comprehensive buying guides empower readers to make informed decisions when investing in audio components, ensuring they get the most bang for their buck.
