As a seasoned car audio installer with over a decade of experience, I’ve had the pleasure of working on countless vehicles, transforming their sound systems from mundane to magnificent. One question I’m often asked is, “How can I upgrade my car’s audio without breaking the bank?” The answer, my friends, lies in the world of DIY installation, and today we’re discussing car Dual XDM17BT installation.
Whether you’re a weekend warrior looking to breathe new life into your daily driver or a car audio novice taking your first steps into the world of customization, this guide is tailored for you. We’ll walk through the entire process of installing the Dual XDM17BT, a versatile and feature-packed double DIN head unit that’s become a favorite among budget-conscious audiophiles.
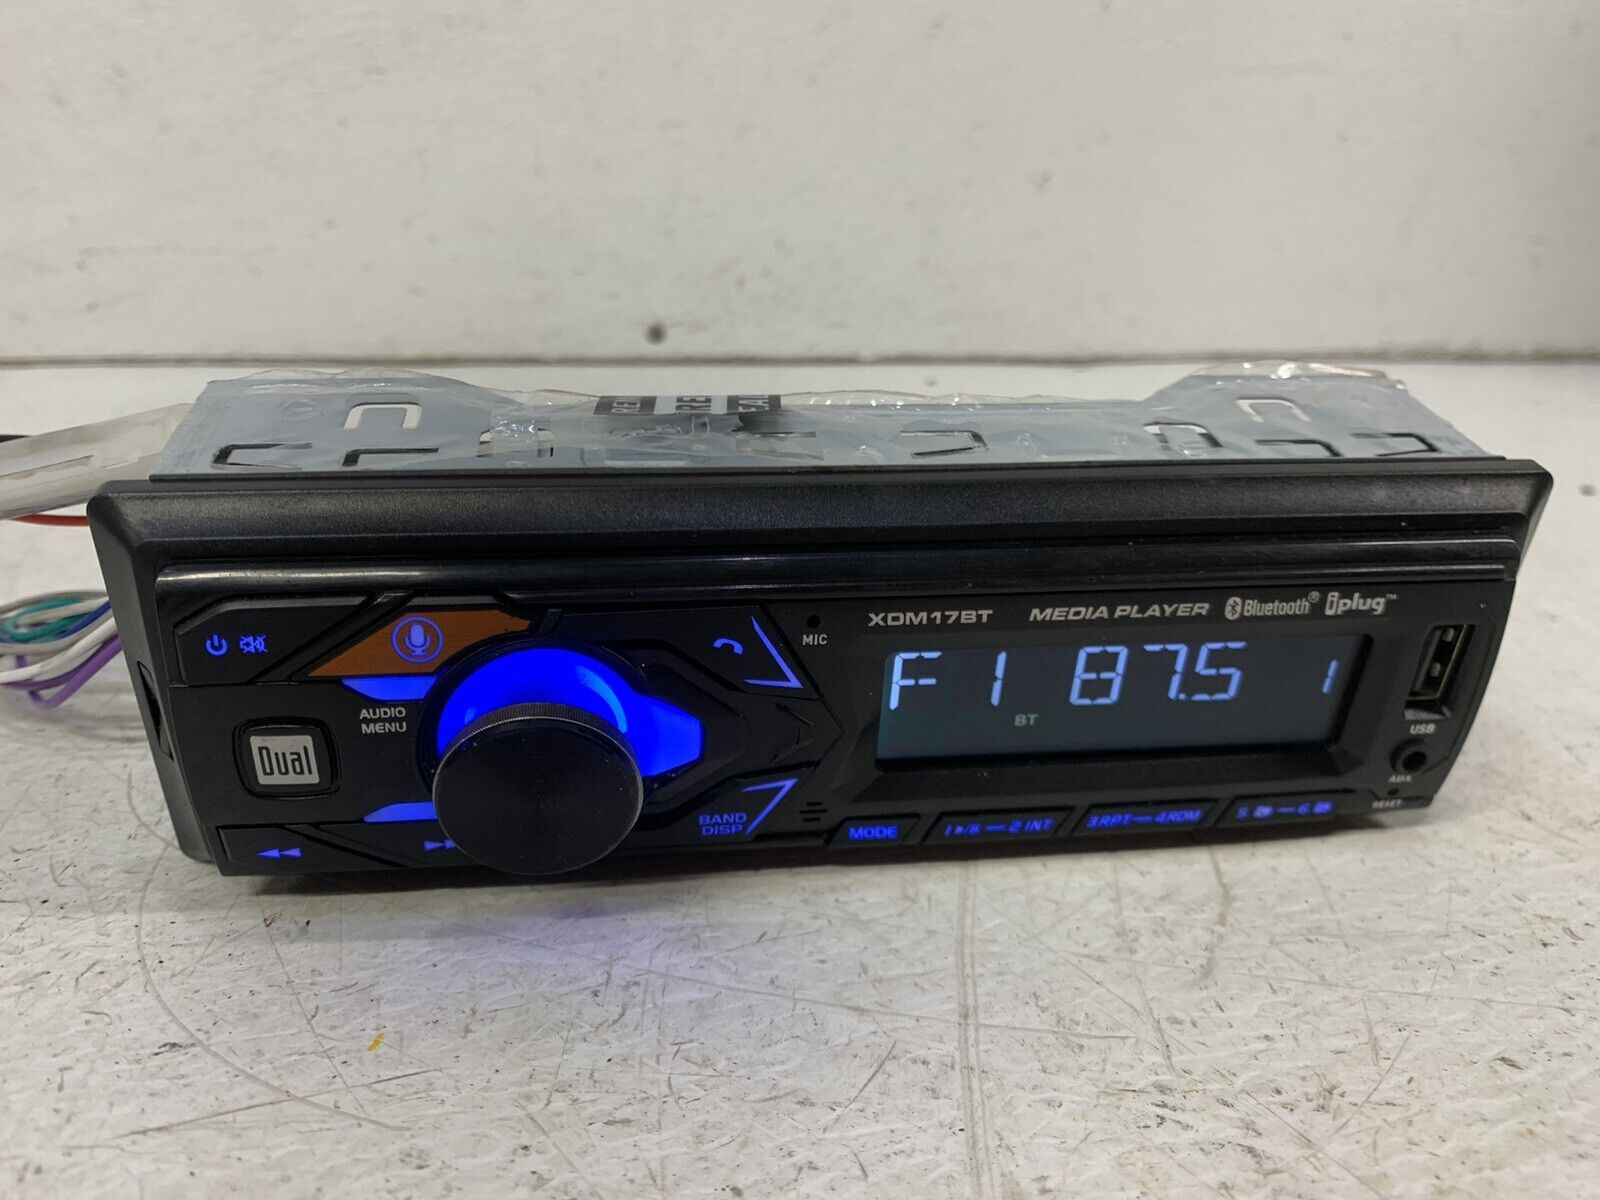
The Dual XDM17BT is a standout in its class, offering Bluetooth connectivity, USB and auxiliary inputs, and a vibrant display that can transform the look of your dashboard. But before we get our hands dirty, let’s break down what you can expect from this comprehensive guide.
Unboxing and Package Contents

When I first got my hands on the Dual XDM17BT, I was impressed by the thoughtful packaging. Here’s what you should find when you open the box:
1. Dual XDM17BT head unit
2. Wiring harness
3. Remote control
4. Mounting sleeve
5. Trim ring
6. User manual
7. Warranty card
Before proceeding, it’s crucial to inspect all components for any shipping damage or manufacturing defects. In my years of installations, I’ve learned that catching these issues early can save hours of frustration down the line.
Best Double Din Head Unit for the Money – Top 5 Reviews
Required Tools and Materials
Based on my experience, here’s a list of tools you’ll need for a smooth installation:
1. Phillips head screwdriver
2. Flathead screwdriver
3. Panel removal tools
4. Wire strippers
5. Electrical tape or heat shrink tubing
6. Multimeter (for troubleshooting)
7. Zip ties (for cable management)
Additionally, you may need:
1. Wiring harness adapter (specific to your vehicle make and model)

2. Dash kit (if your vehicle requires one for a double DIN installation)

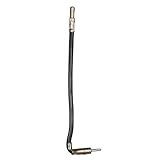
3. Antenna adapter (if your vehicle’s antenna connector doesn’t match the head unit)
Car Preparation: Removing the Old Head Unit
Safety first! Before we dive in, always disconnect the negative terminal of your car battery. This prevents any short circuits and protects both you and your vehicle’s electrical system.
Now, let’s remove that old head unit:
1. Start by removing any trim panels surrounding the stereo. Use your panel removal tools to gently pry these pieces away, being careful not to scratch or damage the dashboard.
2. Once exposed, you’ll typically find four screws holding the factory stereo in place. Remove these with your Phillips head screwdriver.
3. Carefully pull the old head unit out of the dash. It may require a bit of wiggling, but don’t force it.
4. As you pull the unit out, you’ll see a bundle of wires connected to the back. Take a photo of these connections for reference – trust me, this tip has saved me countless times when working on unfamiliar vehicles.
5. Disconnect the wiring harness and antenna cable from the old unit. Some vehicles may have additional connections like steering wheel controls or backup camera feeds – make note of these as well.
Installing the Dash Kit (if necessary)
If your vehicle requires a dash kit for proper fitment of the double DIN Dual XDM17BT, now’s the time to install it. In my experience, a properly installed dash kit not only ensures a secure fit but also gives the installation a professional, factory-like appearance.
1. Refer to the instructions provided with your specific dash kit. Each vehicle model may have slightly different requirements.
2. Generally, you’ll need to transfer any brackets or mounting hardware from your old stereo to the new dash kit.
3. Secure the dash kit in place using the screws you removed earlier. Ensure it’s level and flush with the surrounding dashboard.
4. Test fit the Dual XDM17BT in the dash kit to ensure proper alignment before moving on to the wiring stage.
Connecting the Wiring Harness
This is where the real magic happens. Proper wiring ensures not just functionality, but also optimal performance from your new Dual XDM17BT.
1. Start by identifying the wires on both the vehicle’s harness and the new head unit’s harness. Most aftermarket units, including the Dual XDM17BT, follow a standard color code:
– Yellow: Constant 12V power
– Red: Switched 12V power (ignition)
– Black: Ground
– Blue: Power antenna/amp remote turn on
– Orange: Illumination
– White: Left front speaker (+)
– White/Black: Left front speaker (-)
– Gray: Right front speaker (+)
– Gray/Black: Right front speaker (-)
– Green: Left rear speaker (+)
– Green/Black: Left rear speaker (-)
– Purple: Right rear speaker (+)
– Purple/Black: Right rear speaker (-)
2. If you’re using a vehicle-specific wiring harness adapter, connect the corresponding wires from the Dual XDM17BT to this adapter. This usually involves stripping about 1/2 inch of insulation from each wire and twisting the matching colors together.
3. I always recommend soldering these connections for the best reliability, but if you’re not comfortable with soldering, use crimp connectors or wire nuts. Whichever method you choose, insulate each connection with electrical tape or heat shrink tubing.
4. Pay special attention to the ground wire (black). A poor ground connection is often the culprit behind many car audio issues I’ve encountered. If possible, connect this directly to a bare metal part of the car’s chassis.
Car Dual XDM17BT Installation Step by Step
With the wiring prepared, we’re ready to install the head unit:
1. If your vehicle didn’t require a dash kit, you’ll use the mounting sleeve that came with the Dual XDM17BT. Slide this into the dashboard opening and secure it by bending the metal tabs outward.
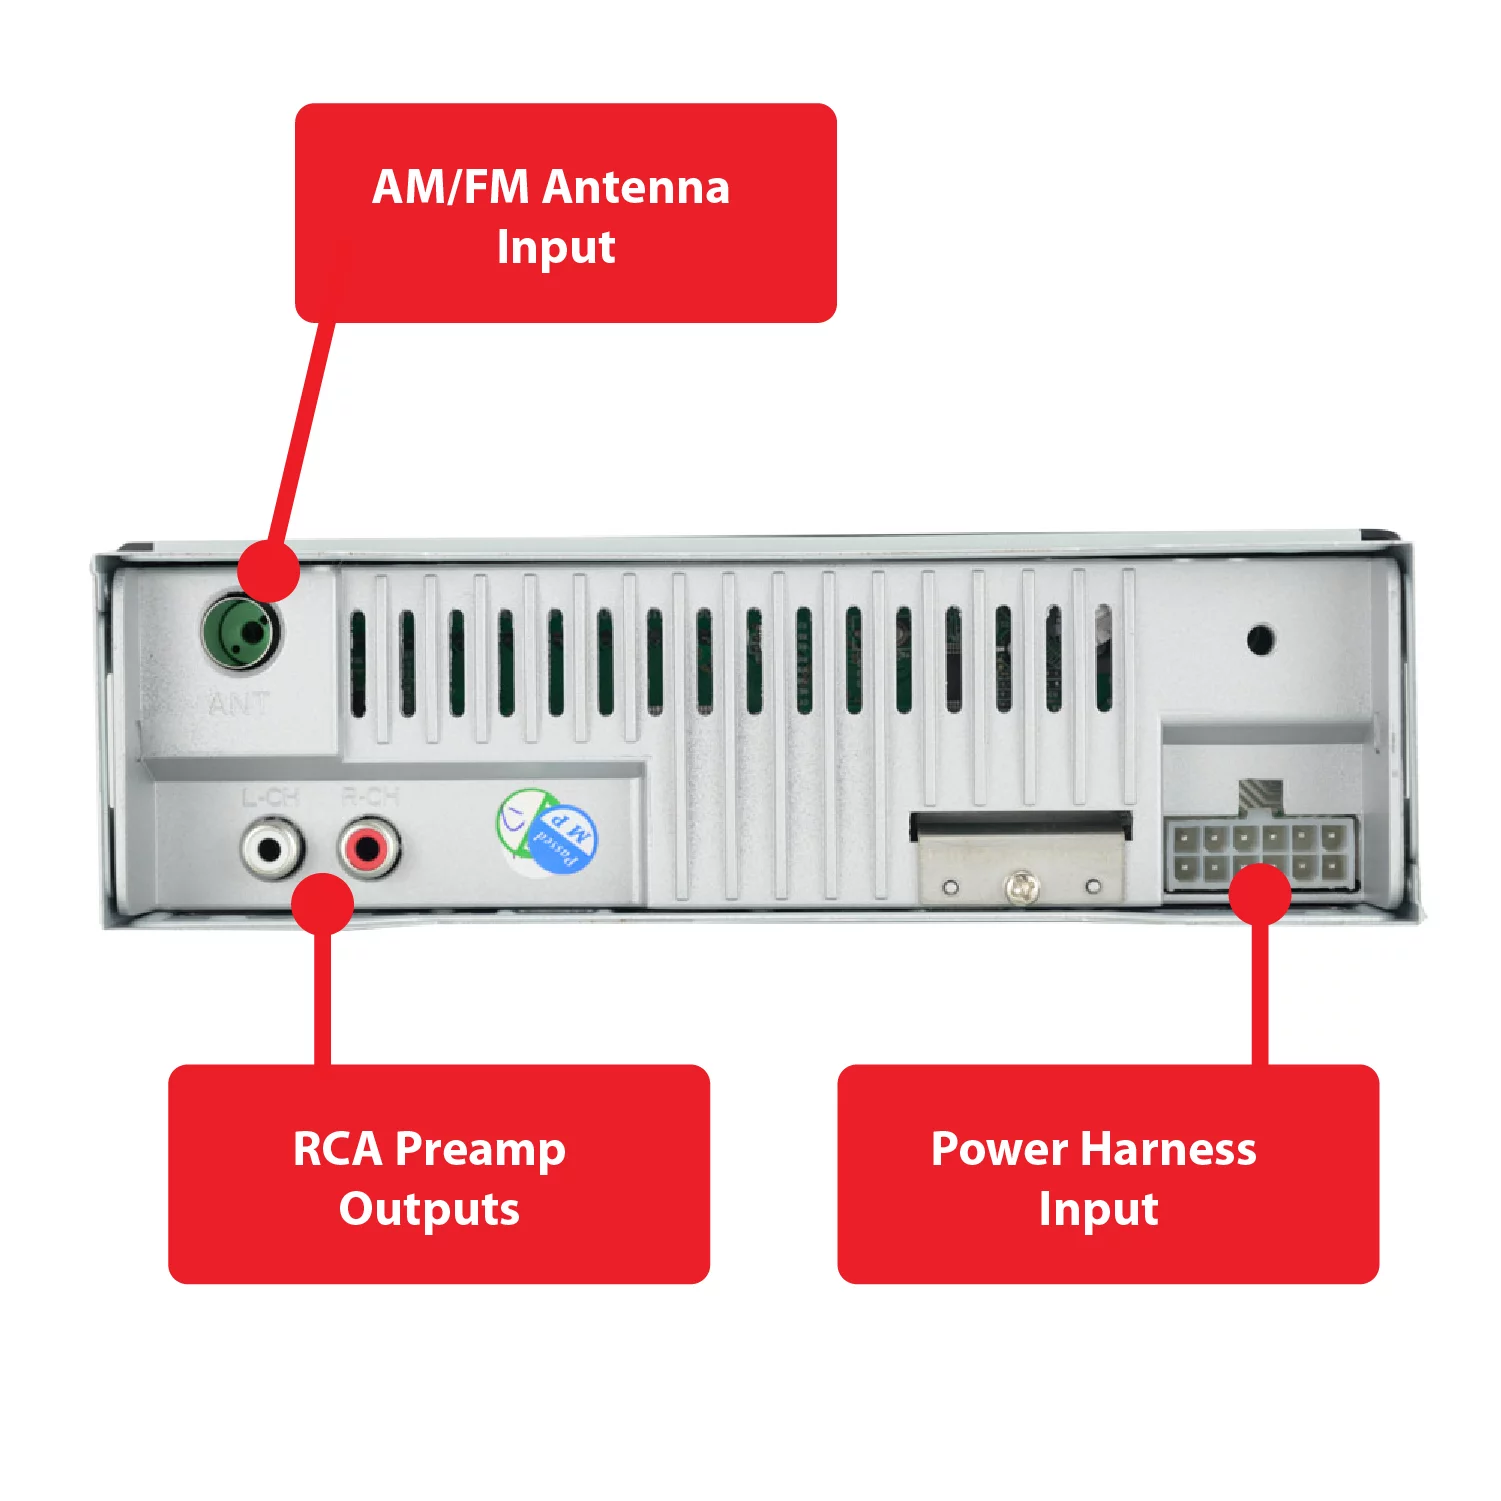
2. Connect the wiring harness you’ve prepared to the back of the head unit. Make sure it clicks into place securely.
3. Connect the antenna cable. If you needed an antenna adapter, use it here.
4. Gently slide the Dual XDM17BT into the dash opening or mounting sleeve. Be careful not to pinch any wires behind the unit.
5. Secure the head unit using the screws you removed earlier or the ones provided with the dash kit.
6. Reattach any trim pieces you removed at the beginning of the installation.
Testing the Installation
Now comes the moment of truth. Reconnect your car’s battery and turn the ignition to the accessory position.
1. The Dual XDM17BT should power on. If it doesn’t, double-check your power and ground connections.
2. Test all functions: AM/FM radio, CD player (if equipped), USB input, and auxiliary input.
3. If your vehicle has steering wheel controls, ensure they’re working correctly. You may need to program these using the head unit’s settings menu.
4. Check that all speakers are working and that the balance and fader controls affect the correct speakers.
5. Test the Bluetooth functionality by pairing your phone and making a call or streaming some music.
Troubleshooting Common Issues with Car dual xdm17bt Installation
In my years of installations, I’ve encountered a few common issues:
1. Head unit not powering on:
– Check the fuse in the car and on the head unit itself.
– Verify that both constant and switched power wires are connected correctly.
– Ensure the ground wire has a solid connection to bare metal.
2. No sound from speakers:
– Double-check all speaker wire connections.
– Make sure the fade and balance settings aren’t set to one extreme.
– Verify that the correct speaker impedance is selected in the head unit settings.
3. Bluetooth not connecting:
– Clear any previously paired devices from both the head unit and your phone.
– Ensure your phone’s Bluetooth is turned on and discoverable.
– Some vehicles may require an external microphone for clear hands-free calling.
Best 6.5 Car Speakers- Top 10 Picks and Reviews
Additional Tips and Tricks
Now that your Dual XDM17BT is installed and working, let’s optimize its performance:
1. Take time to explore the equalizer settings. The XDM17BT offers preset EQ curves, but I always recommend fine-tuning to your personal taste and vehicle acoustics.
2. If you’re streaming music via Bluetooth, set your phone’s volume to about 75% for the best sound quality. Adjust the final volume using the head unit’s controls.
3. Organize your USB drive with folders for easier navigation when using the USB input.
4. If you frequently use hands-free calling, consider mounting an external microphone near the driver’s position for clearer call quality.
5. Experiment with the display settings to find a brightness level that’s comfortable for both day and night driving.
Conclusion
Installing the Dual XDM17BT is a rewarding project that can significantly enhance your driving experience. As we’ve seen, with the right preparation and a methodical approach, even those new to car audio can achieve professional-looking results.
Remember, the key to a successful installation lies in patience and attention to detail. Take your time with each step, and don’t hesitate to double-check your work. The effort you put in now will pay dividends in audio enjoyment for years to come.
As you get familiar with your new Dual XDM17BT, don’t be afraid to experiment with its features and settings. Each car’s acoustic environment is unique, and finding the perfect setup for your vehicle is part of the fun.
For further information, I always recommend keeping the user manual handy. Additionally, there are numerous online forums and communities dedicated to car audio where you can find model-specific tips and tricks for getting the most out of your Dual XDM17BT.
Happy listening, and enjoy your newly upgraded car audio system!
Best 4 Inch Car Speakers – Top 10 Reviews
Best 8 Inch Subwoofer Reviews: Unleash Thunderous Bass!
FAQs on Car Dual xdm17bt Installation
How to pair with a dual XDM17BT?
To pair your phone with the Dual XDM17BT, put the head unit in Bluetooth mode, then activate Bluetooth on your phone. Search for “Dual Media Player” and pair using the PIN 1234.
What apps are needed for a dual Bluetooth radio?
No specific apps are required for a dual Bluetooth radio.

Kenny Owen is an acclaimed audio expert and longtime enthusiast with a deep passion for sound technology. With over 15 years of experience in the car and home audio industry, Kenny has established himself as a trusted authority on everything from speaker setups and amplifier configurations to the latest audio equipment and innovations.
Through his engaging writing style and meticulously researched articles, Kenny shares his vast knowledge on optimizing audio systems for superior sound quality. He provides in-depth tips and tricks for achieving the best listening experience, whether it’s tuning a car’s audio system for an immersive musical journey or creating a high-fidelity home theater setup. Additionally, Kenny’s comprehensive buying guides empower readers to make informed decisions when investing in audio components, ensuring they get the most bang for their buck.