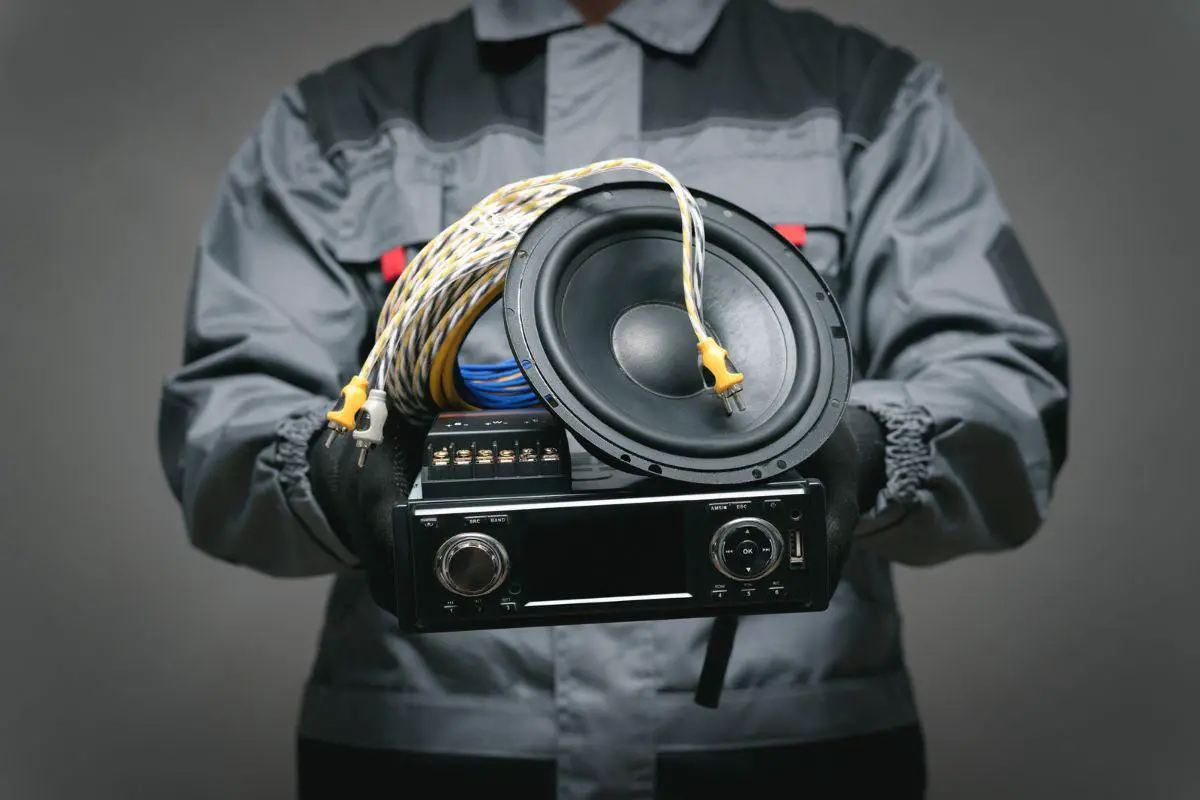
Driving can be a bore, but having an awesome car audio system can make it so much more fun. Nothing is worse than when that same system stops working – the amplifier is one of its most crucial components and plays an important role in amplifying power to your speakers.
If you’re facing issues with your amp, don’t you worry! We’ve prepared an expert guide to help you with your car amplifier troubleshooting. Get back on track in no time by following these tips and tricks so you can get back out there cruising around like Vin Diesel!
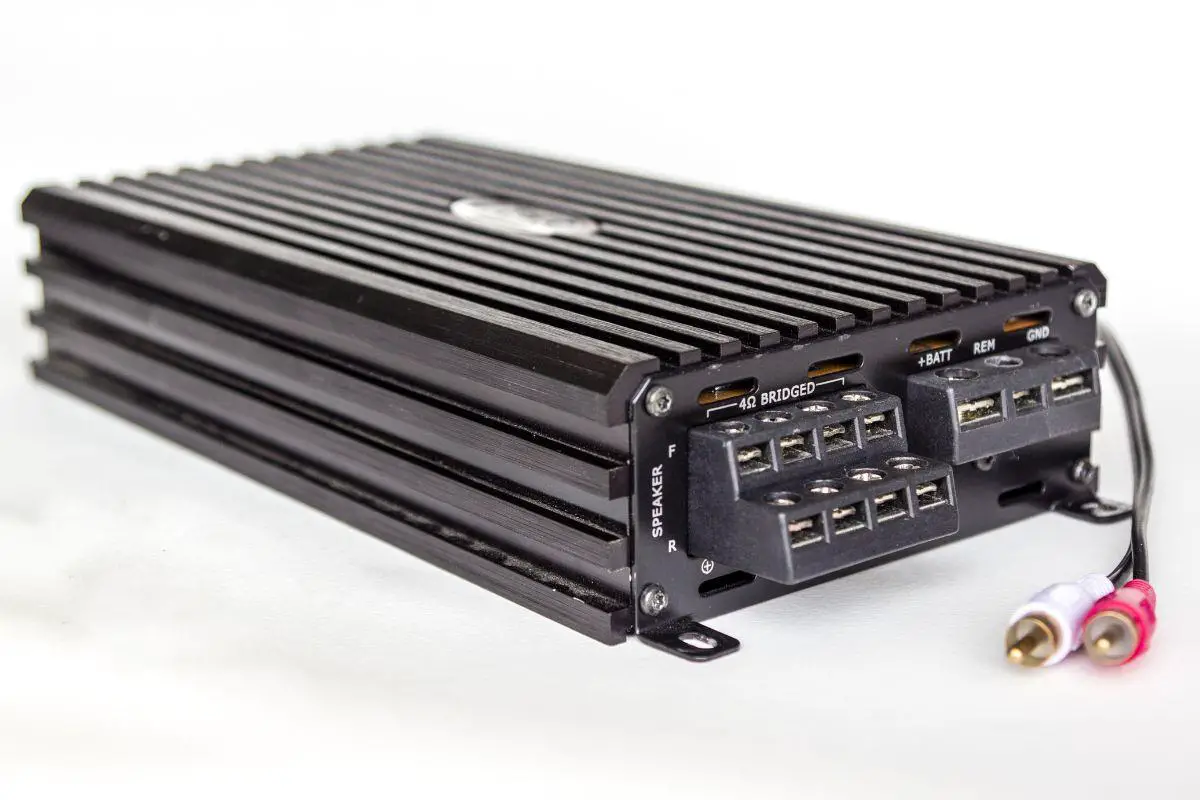
Check the Connections
With car amplifiers, one of the most common issues is loose or faulty connections. Before you go tinkering around in your engine bay, start with basics to troubleshoot car amplifier: check that all wiring and connections are secure and firmly grounded.
Loose wires can cause an array of problems from distortion to complete sound loss – don’t forget to take a look at those speaker wires as they tend to get pretty worn over time! Investing some time into double-checking these parts now could save you major headaches (and cash!) later on down the road.
Verify the Power Source
Having car amplifier issues? Power-related problems are one of the most common complaints. Start by verifying that your amp is getting power from the battery and check if the fuse has blown – a simple fix with a new fuse.
If it keeps randomly shutting off, chances are it’s not receiving enough juice to keep running like a well-oiled machine. Don’t let your jam session suffer due to lack of power – get yourself (and your tunes!) back up and running!
Examine the Settings
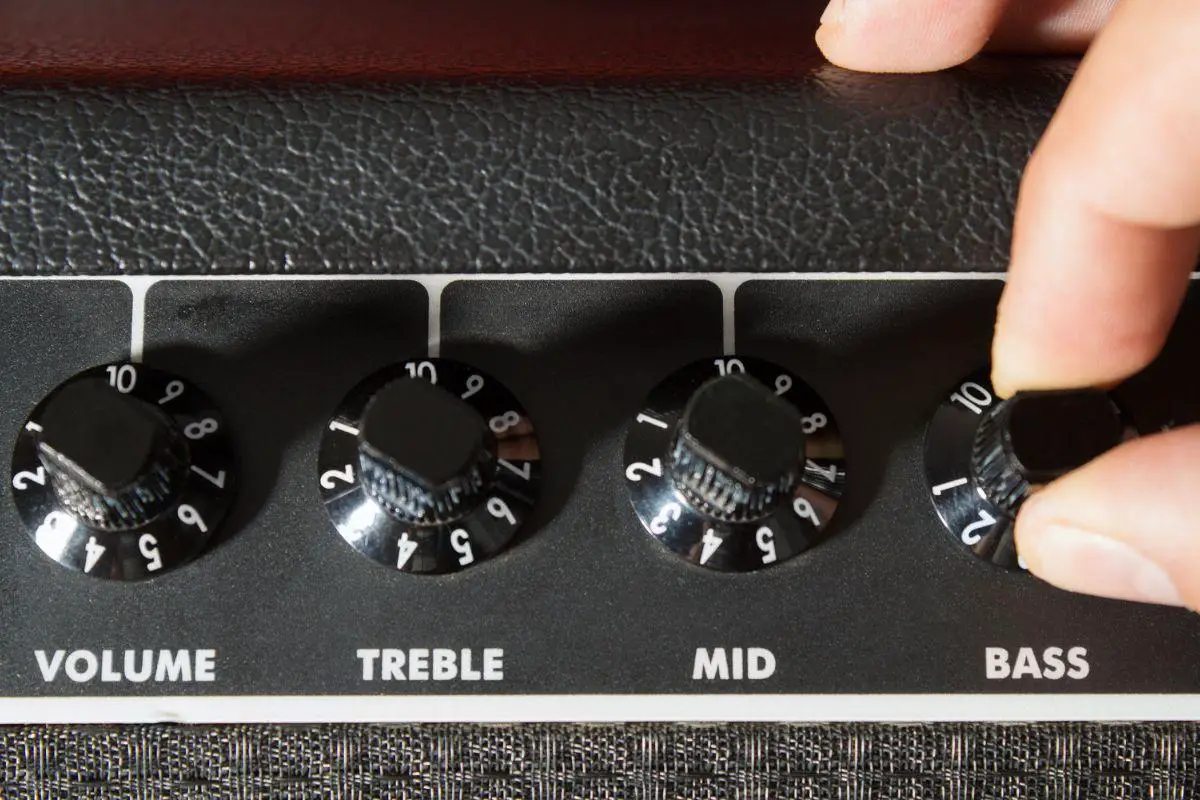
Checking the settings on your amplifier is a must step to troubleshoot car amplifier. Making sure they are set according to your speaker’s impedance and power handling specifications is key, otherwise you may be in for some nasty surprises – like distortion, clipping or even overheating!
Don’t forget about the gain control either; setting it too high can cause distortion and damage those sweet speakers of yours. So take the extra time to make sure all settings are up-to-date – it’ll save you from hours of frustration later on down the line.
Inspect the Cables
The amplifier cables may have taken a beating, causing a short circuit or open circuit. Proper car amp troubleshooting requires you to examine the cables for any visible damage or tears, and replace them right away if need be.
Damaged wires can lead to interference as well as complete sound loss – so don’t forget to check those RCA cords too since they can easily become worn over time! Get these looked into ASAP; you wouldn’t want your music enjoyment compromised by faulty wiring!
Test the Amplifier
If none of the above solutions work, it might be time to get your hands dirty and test the amplifier for yourself. Take it out of the car and use a multimeter to measure if there is any output whatsoever.
If nothing shows up on the screen, then unfortunately your amp may have gone kaput – or needs some tender loving care from an experienced technician with all the right tools for diagnosis and repair. Trying to fix this problem by yourself could end in tears, so best leave this one up to professionals!
Final Thoughts on Car Amplifier Troubleshooting
A car amplifier is an absolute necessity for any decent audio system in your ride. Unfortunately, issues with these can definitely take away from the listening experience. But don’t worry – most problems can be diagnosed and solved quickly by following a few simple car amp troubleshooting steps.
Make sure you double-check wiring connections, power sources, settings, and cables before continuing on to testing the amp itself. With some patience and dedication (and maybe a few choice swear words) you’ll have your music bumping again in no time!

Kenny Owen is an acclaimed audio expert and longtime enthusiast with a deep passion for sound technology. With over 15 years of experience in the car and home audio industry, Kenny has established himself as a trusted authority on everything from speaker setups and amplifier configurations to the latest audio equipment and innovations.
Through his engaging writing style and meticulously researched articles, Kenny shares his vast knowledge on optimizing audio systems for superior sound quality. He provides in-depth tips and tricks for achieving the best listening experience, whether it’s tuning a car’s audio system for an immersive musical journey or creating a high-fidelity home theater setup. Additionally, Kenny’s comprehensive buying guides empower readers to make informed decisions when investing in audio components, ensuring they get the most bang for their buck.
